
Goal: provide a clear, playable transcription of the hit, connecting common guitar chord charts to practical fingerings for a 17-key kalimba in C.
Method: use the Am–G–F–D progression (capo at the sixth fret) and Ebm–Db–B to build simple patterns. You will find alternatives for 15-key models and tips for converting capo-based notation to the concert key.
You will learn to choose a tuning, check the keys, identify the key signature, and convert guitar reference points into kalimba reference points. We will cover the melodic landmarks in the intro and first verse, along with right- and left-hand fingerings.
Practical tools: a step-by-step guided exercise for the main ostinato, customizable MP3 backing track, auto-scroll, and speed control for practice.
For background and the original reference, see the compilation that lists this track among other classics: Nostalgie: Best of 70’s.
Prepare your kalimba and understand the key before playing
Before playing, check the tuning and establish a clear tonal starting point to make transposition from guitar easier.
Choose the tuning
For a 17-key model in C, confirm the order from low to high: C‑D‑E‑F‑G‑A‑B‑C. Use a tuning app set to 440 Hz to check the pitch.
Checking and adapting
Pluck each key: if a note does not ring properly, adjust it with a tuning hammer. An out-of-tune key creates distracting overtones.
- If you have a 15-key model, use the C scale and replace missing low notes with notes an octave higher.
- For the guitar chord chart, remember: E A D G B E + capo at the sixth fret → Am‑G‑F‑D shapes in relative notation.
Key and tempo
Relating Am‑G‑F‑D to the degrees i‑VII‑VI‑V means playing in a minor mode. If you are using Ebm‑Db‑B, consider transposing it to Em‑D‑C so you can use natural notes on an instrument tuned to C.
“Start slowly with a metronome, then increase the speed gradually to steady your phrasing.”
Practice the ostinato by alternating hands: the right hand for the odd-numbered high keys, the left for the even-numbered low keys. Set auto-scroll to about 20% at first, then increase the speed.
Dalida’s “Kalimba de Luna”: detailed kalimba sheet music
A clear opening motif helps you recognize the key and move into the arpeggios of the first verse.
Intro and first verse
Start on the tonic of your transposition: for example, Em‑D‑C if you have raised Ebm‑Db‑B by a semitone. Play E‑G‑B, then descend through arpeggios to D‑F#‑A and C‑E‑G over two measures.
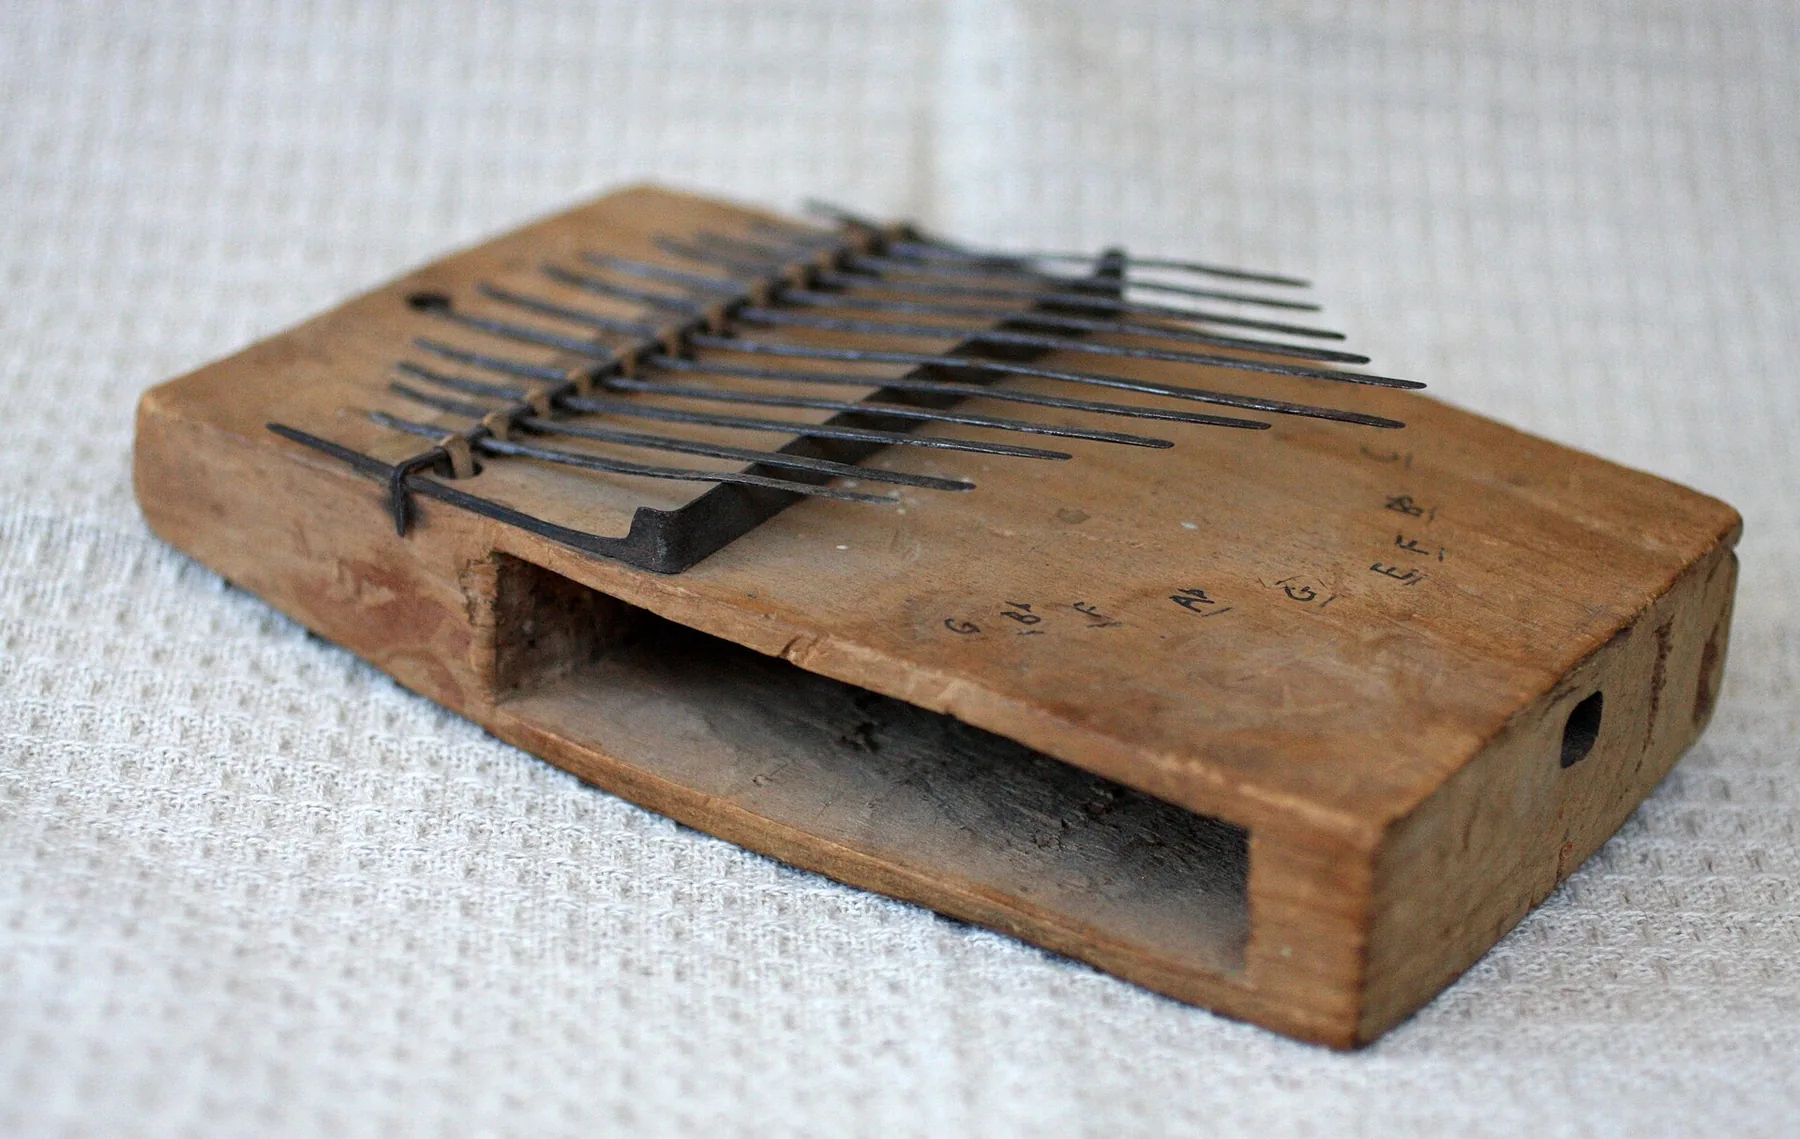
Recurring patterns
- Harmonic colors: reproduce i‑VII‑VI‑V (Am‑G‑F‑D written with a capo at the sixth fret) using triads and guide tones.
- Variation: for Ebm‑Db‑B, play Em‑D‑C to avoid complex accidentals.
Fingerings and transitions
Place your right hand on the odd-numbered high keys and your left hand on the even-numbered low keys. Alternate R‑L‑R‑L for arpeggios, then switch to R‑R‑L for syncopated notes to make changes easier.
Guided exercise and section management
Simple ostinato: loop four measures of Em‑D‑C‑D in equal note values, with an R‑L‑R pattern for each chord. Repeat eight times slowly, then increase the tempo in 5 BPM steps.
“Count 1‑2‑3‑4 quietly before each entrance to place the sections accurately.”
Adapting for 15 keys: double the fifth an octave higher if the bass note is missing. For a complete transcription, download the complete playing sheet.
Practice effectively with modern tools
To improve, combine adjustable accompaniment with a display that follows your speed.
Use a customizable MP3 backing track
Control each track: use mute to isolate the electric guitar, and volume and L/C/R pan controls to place the instrument in the center of the mix.
Change the key with the arrows, then click Reload to get the right pitch immediately without retuning the instrument. Export separate tracks by isolating each one to create Drums, Bass, or Vocal Guide files.
Use auto-scroll and section markers
Turn on auto-scroll and set its initial speed between 20 and 40%. Use the Intro, Verse, Interlude, and Outro markers to practice transitions precisely.
Adjust speed and key as you improve
Increase the tempo in stages: practice slowly, add 5 BPM, then return to the previous speed. Plan short, regular 25-minute sessions.
| Feature | Benefit | When to use it |
|---|---|---|
| Mute a track | Makes room in the mix for the instrument | When recording or listening for note attacks |
| L/C/R panning | Creates a clear stereo field | To distinguish the bass, drums, and sustained parts |
| Change key & Reload | Instant transposition without retuning | When the score is in Ebm and the instrument is in C |
| Export separate tracks | Creates focused practice files | For rhythm practice or identifying notes |
See the chords and markers to round out your practice sessions.
Conclusion
Keep the key steps in mind as you move from exercises to a fluent performance.
You now have a roadmap: checked tuning, a clear key based on guitar reference points (capo at the sixth fret, Am‑G‑F‑D), and the Ebm‑Db‑B alternative transposed for an instrument in C.
The transcription connects the intro and verse patterns to alternating right- and left-hand fingerings. The main ostinato helps steady the beat: practice slowly, then increase the speed gradually.
Use the tools (customizable MP3 backing track, auto-scroll, and section markers) to vary the speed and isolate parts. Organize sessions at slow, medium, and original speeds.
Improve in stages, bring harmonic tensions back in, and vary the accents. With regular practice, you will gain speed, musicality, and confidence.