
This guide explains the different formats and offers a practical way to start learning kalimba today.
Easy to pick up, the kalimba lets you learn to play without much musical experience. Models come in wood or acrylic, with anything from 7 or 8 tines to 17 or 21 tines.
Today’s learning resources combine visual demonstrations with written music. Videos show the movements in real time. PDFs strengthen visual memory and help you practise each note slowly.
What you’ll find in this guide: how to set a learning goal, compare formats, adopt a combined approach, and master tuning and basic techniques through clear steps.
To complement this guide, explore a book and sheet music that take you through learning the kalimba step by step.
Understand your learning goal to choose the right format
Start by defining your musical goal so you can choose the right learning format. It will guide what you work on: rhythm, reading music or playing independently.
Your needs: if you learn best from moving images, choose demonstrations that show hand and finger positions and how to alternate between your thumbs when plucking. If you like making notes, printed music makes it easier to work on each note.
Where you practise: at home with a screen, a demonstration helps you absorb the tempo and movements. When travelling or without an internet connection, a printed PDF and stickers marking the tines help you practise independently.
- Recommended exercises: alternate between your left and right thumbs, and divide a piece into sections.
- Physical comfort: choose the format that reduces eye strain and lets you maintain good hand posture.
- Musical goal: play simple tunes quickly or build a solid foundation in reading music.
| Situation | Recommended resource | Main benefit |
|---|---|---|
| At home with a screen | Visual demonstration | Rhythm control and coordination between both hands |
| Travelling or without an internet connection | Printed music | Independent practice and markings on the tines |
| Focused repetition | Video and sheet music | Reinforcing movements and memorising each note |
To strengthen your reading and rhythm, complement this guide with theory exercises to learn music theory.
Kalimba video tutorial or PDF: which should you choose to make progress?
Filmed demonstrations and printed music each have a distinct role in learning. They often work best together for quick, lasting results.
Benefits of videos
Watching the technique: a tutorial shows thumb movements, rhythmic motion and small hand movements. This helps reduce coordination errors.
Visible effects: you can see vibrato when the rear or side holes are covered; the front hole creates a wah-wah effect; and sweeping across several tines produces a glissando (3 ≈ triad, 4 ≈ seventh chord, 5 ≈ ninth chord).
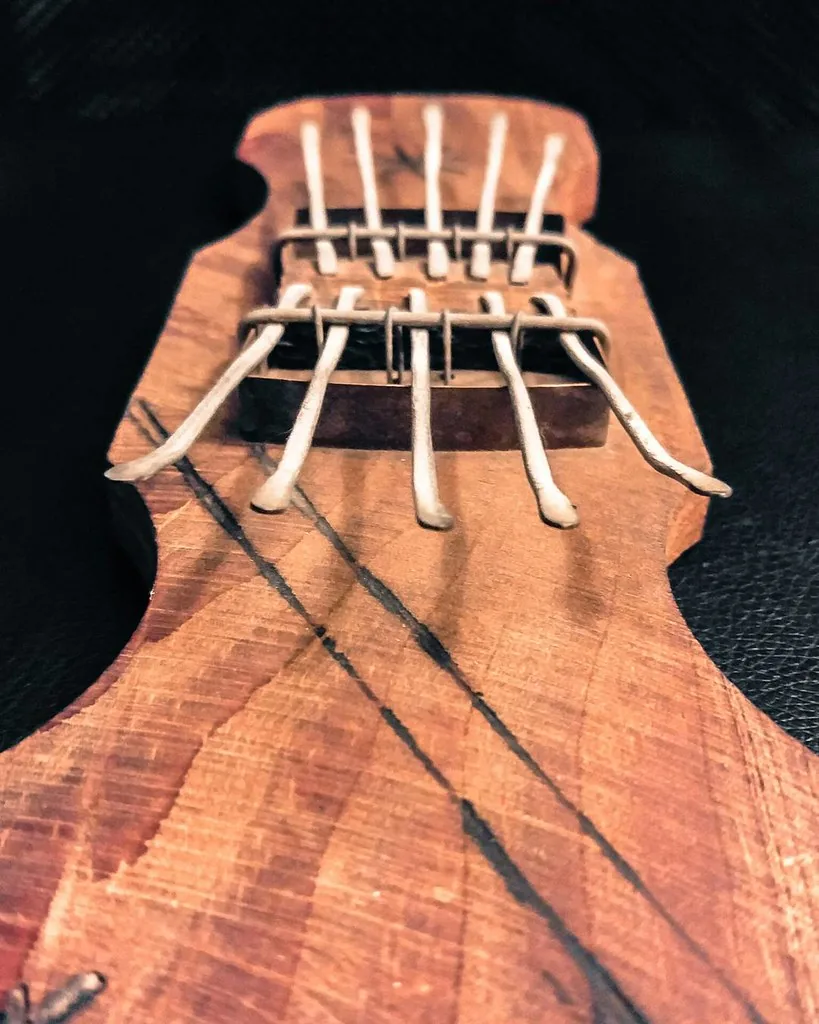
Benefits of tablature and PDFs
Lasting recall: tablature is read from bottom to top and shows exactly which tines to pluck. You can annotate each note and practise slowly in sections.
Section-by-section method: divide the tablature, learn one section at a time and check that every section matches the original note for note.
Limitations and common mistakes
A video may tempt you to skim over techniques without repeating them slowly. Printed music can lead to an inaccurate rhythm if you have no audio reference.
“Alternating between listening and reading helps prevent bad habits and improve accuracy.”
Avoid overlooking the inactive hand, neglecting the transition between tines on opposite sides and losing the tempo.
Typical approaches
- Beginner: start with a demonstration to learn the right posture, then reinforce your reading skills with tablature.
- Returning after a break: compare a tutorial with the sheet music to correct old habits.
- Intermediate player: use both resources to learn advanced effects and enrich your playing on a basic kalimba.
| Player | Starting resource | Goal |
|---|---|---|
| Beginner | Video | Posture, rhythm and thumb movements |
| Returning after a break | Video and tablature | Correct old habits and regain a steady tempo |
| Intermediate player | Tablature and video | Effects and accurate notes |
To align your tempo with the written music, use a reliable reference, then check your accuracy with a clear resource on how to learn to play the kalimba.
A recommended combined approach: use video and PDF together to progress faster
A combined approach brings together the energy of a demonstration and the precision of written notation. It engages your ears, eyes and muscle memory to help you learn the kalimba faster.
A one-week practice routine using both formats
Sample week:
- Day 1 — listen closely to the piece to grasp its dynamics.
- Day 2 — watch a tutorial to observe posture and thumb placement.
- Days 3 and 4 — practise the tablature in short sections.
- Day 5 — join the sections together.
- Day 6 — refine the transitions.
- Day 7 — review slowly and improve the accuracy of each attack.
Move from a YouTube video to PDF tablature
First, notice the phrasing and accents in the video. Then isolate each section in the tablature to commit the movements to memory.
Add short daily exercises: alternate your thumbs on the central tines, practise with a metronome and repeat one bar until your rhythm is steady. Record yourself every week to measure your progress and decide what to work on next.
“Fifteen focused minutes a day are better than an occasional long session.”
Practical tip: annotate the sheet music to mark difficult passages, breathing points and connections between notes. Combining resources speeds up kalimba learning by bringing together the movement shown in video and the clarity of kalimba sheet music. For more detail, see this complete guide.
The fundamentals of learning the kalimba today
Start by mastering the basics: tuning, holding the instrument and reading music are essential.
Tune your instrument step by step. Install a tuning app (Smart Kalimba, gStrings or Free Universal Tuner). Pluck the central tine (C), check the display and adjust each tine. If the note is too sharp (♯), tap the tine downward. If it is too flat (♭), tap it upward. Work through every note until the tuning is stable.
Holding the instrument and thumb technique: place your thumbs on top and your fingers behind the instrument, keeping an upright posture. Avoid blocking the rear holes, which affect resonance. Trim or lightly file your nails, or use silicone thumb guards if needed.
Read tablature and sheet music. Read tablature from bottom to top; identify which tine to pluck and work one section at a time. On a staff, the numbers beneath the notes indicate the tines. Notes that touch indicate a glissando; two stacked notes should be played simultaneously with both hands.
| Action | Key step | Practical tip |
|---|---|---|
| Tuning | App → central tine → adjust each tine | Tap downward if the note is sharp; tap upward if it is flat |
| Holding the instrument | Thumbs on top, fingers behind to stabilise it | Do not block the rear holes |
| Reading music | Tablature from bottom to top; numbers on sheet music | Divide it into sections and repeat slowly |
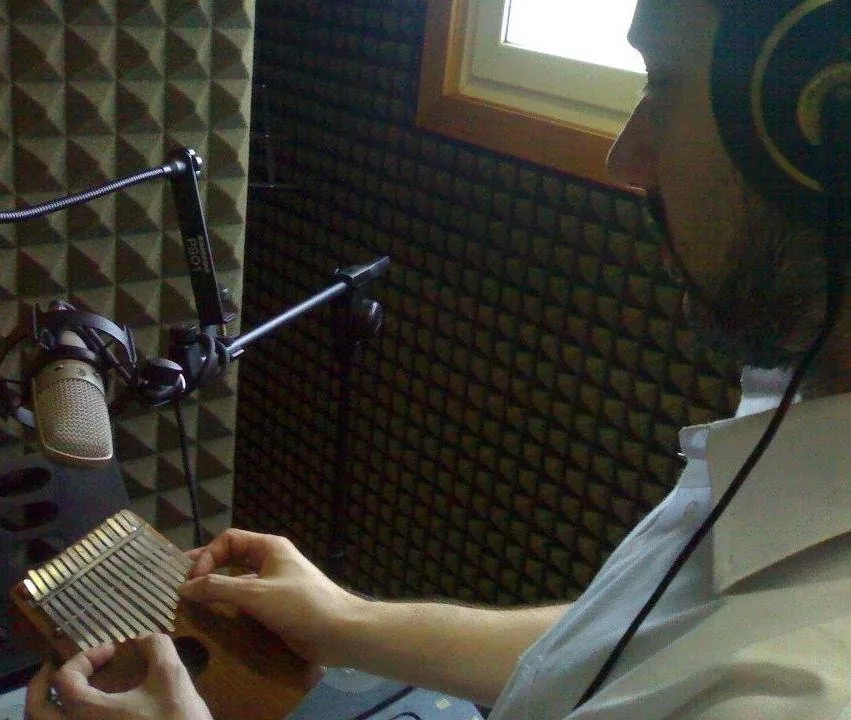
“Five minutes of tuning, five minutes of alternating thumbs and five minutes of slow reading build a lasting foundation.”
Choose the right instrument and accessories to help you progress
Comfort and material directly affect how quickly you learn. Before buying, decide how you will use the instrument: practising at home, giving short performances or travelling.
Number of tines: 7- or 8-tine models suit children and beginners. The 17-tine model is a versatile standard. Models with 21 tines add lower notes and a richer sound.
Wood or acrylic: wood (mahogany, koa or walnut) provides warm, full resonance. Acrylic produces a brighter tone but needs a firmer pluck to reach a similar volume.
Check the curve and responsiveness of the tines: they should follow your thumb’s natural path and respond consistently to each pluck.
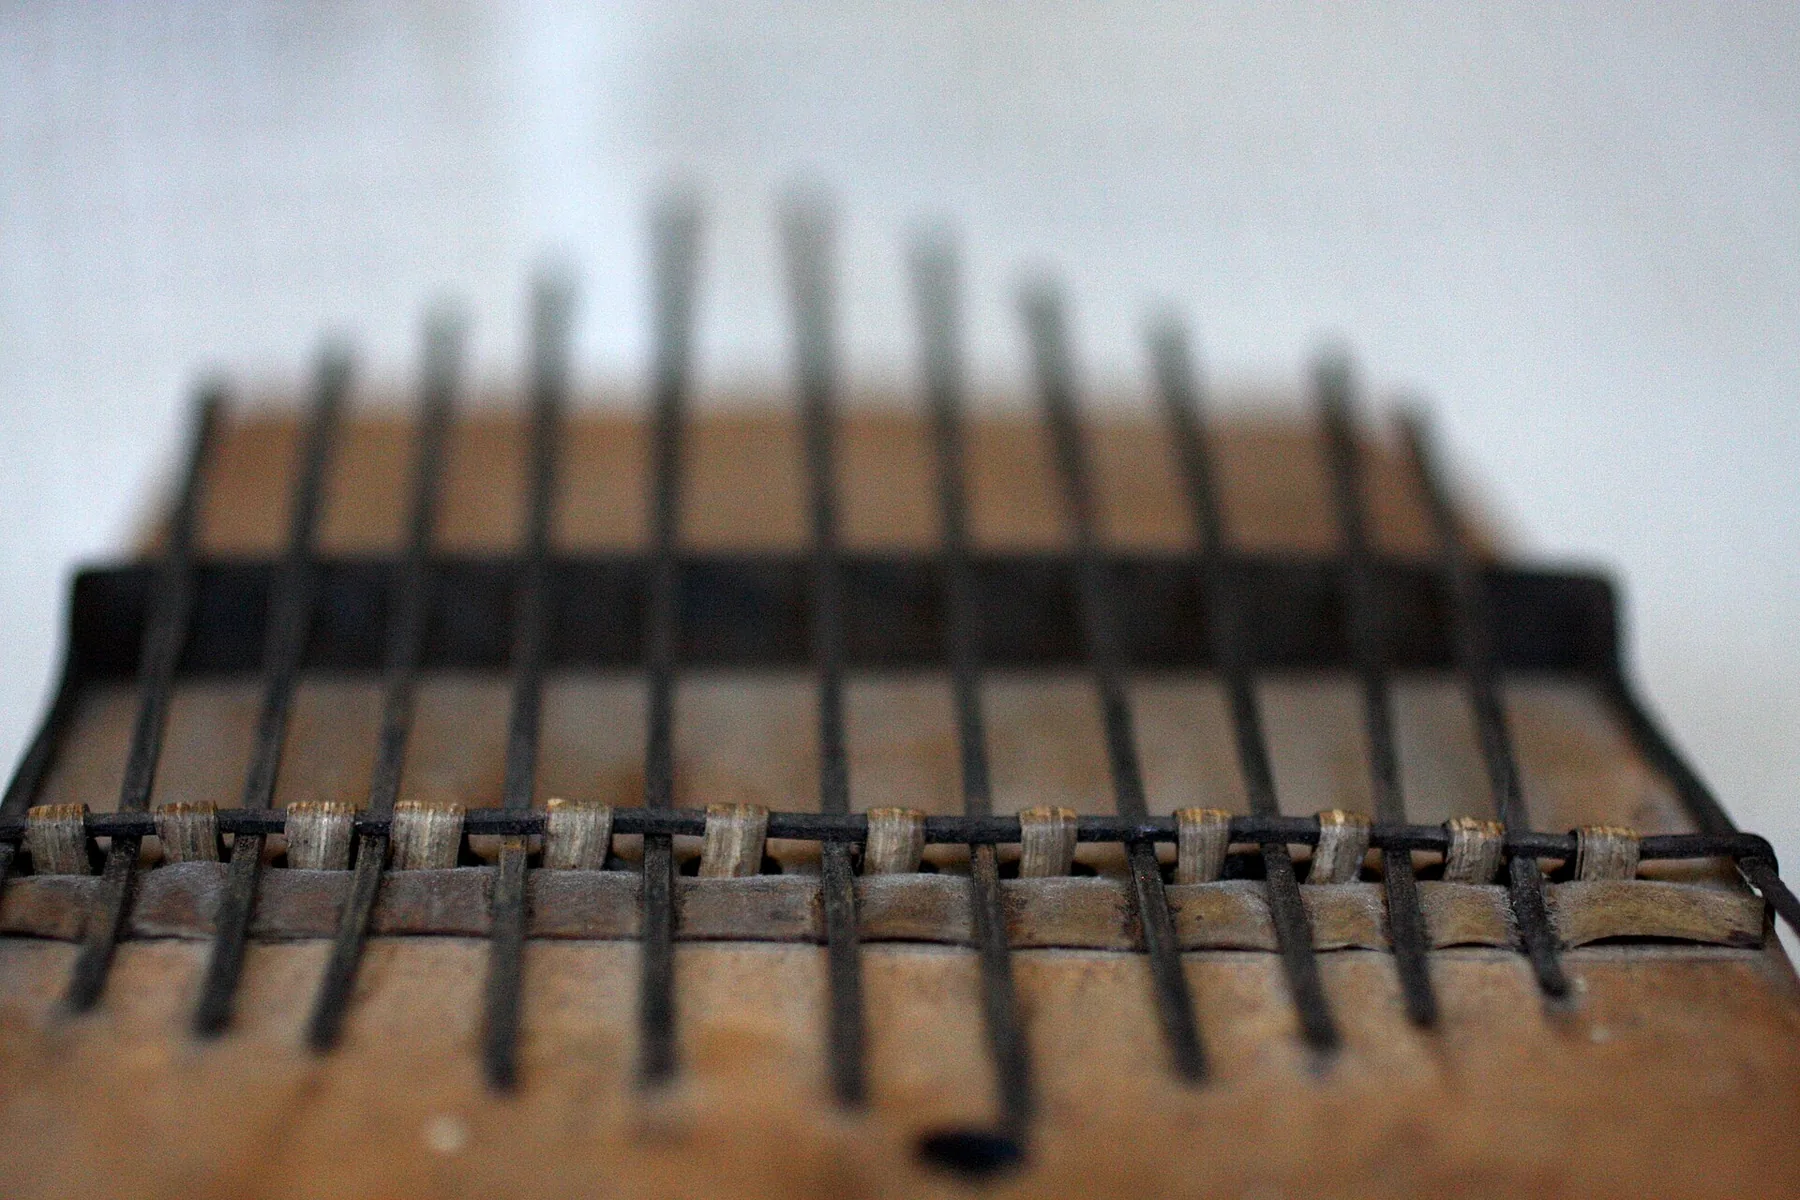
Comfort, tuning and essential accessories
Choose an instrument that stays in tune after travel. Learn to adjust the tines quickly up or down with a tuning hammer.
Essential accessories: a sturdy case, stickers to mark the tines and a tuning hammer. They protect the instrument and make daily practice easier.
| Criterion | What to check | Effect on playing |
|---|---|---|
| Number of tines | 7 or 8 • 17 • 21 | Ease of learning and range of pieces you can play |
| Material | Wood (mahogany, koa, walnut) • acrylic | Warmth or brightness of tone and effort needed to pluck |
| Comfort and tines | Curve, responsiveness, dimensions | Thumb comfort and fluid playing |
| Accessories | Case, stickers, hammer | Protection, note markings and stable tuning |
Practical advice: try several models to listen to their notes, detect unwanted vibrations and check how comfortable they remain over time. For more buying advice, read this beginner’s guide.
Useful resources for English-speaking learners: videos, tablature and sheet music for practice
This overview brings together resources from around the world for beginners and intermediate players.
Channels and tutorials: look for channels such as “Tuto Kalimba” to learn popular pieces (Harry Potter, Hallelujah) and techniques (vibrato, wah-wah, glissando). Choose those that clearly show movements, tempo and finger position.
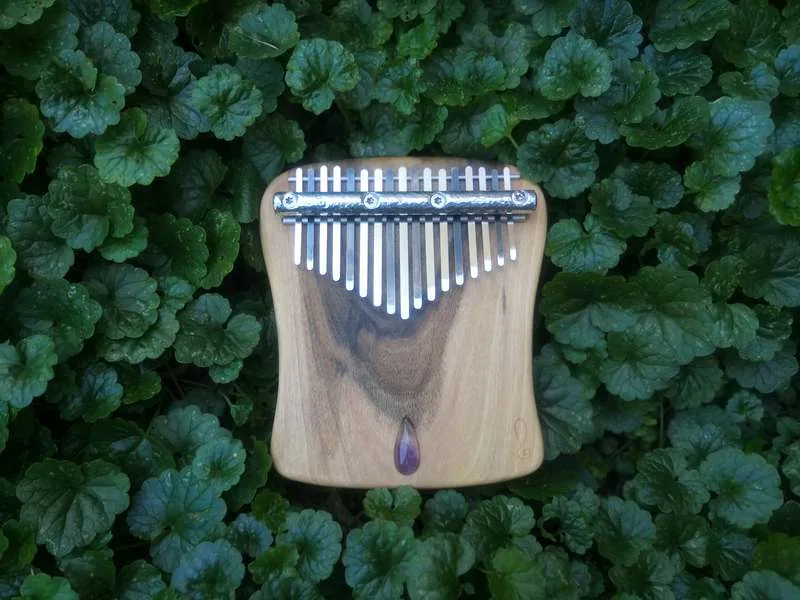
Tablature and sheet music: include the number of tines in a search for “kalimba tablature” (for example, 17 tines) to find suitable PDFs. Always check for an audio link or recording to help you keep time.
Simple practice plan:
- Watch a tutorial to work on posture.
- Annotate the tablature and divide it into sections.
- Practise focused exercises and listen to the demonstration again.
Forums, specialist sites (Kalimba Magic) and songbooks offer advice, feedback on fingering and free sheet music. Organise your files by song and difficulty, then track your progress after every session.
Recommended learning method: combine a wooden instrument, a visual demonstration and sheet music to get the best sound and make steady progress.
Conclusion
Combining demonstrations and sheet music makes each movement more secure.
Choose short, regular practice sessions. Daily exercises, careful tuning and a good wooden instrument make learning easier.
Check the tuning, adjust a tine upward or downward, then practise one section of the sheet music. Record yourself to measure your progress.
Master the effects created with the sound holes and refine your thumb technique. This routine makes the instrument a true musical companion and helps you learn to play with confidence.
Action plan: tune the kalimba → review a tutorial → practise one section → record yourself. Vary the songs and difficulty levels, and celebrate every improvement.