
What this guide offers: this short guide explains how to read kalimba sheet music or tablature, step by step. You will learn to identify notation systems (numbered NMCA, letter notation and modern tablature) and octave marks.
The method covers numbered notation (1–7 = C–B), letter notation (C D E F G A B) and the tablature devised by Mark Holdaway in 2003. The latter is read from bottom to top; each column represents a tine.
Practical goal: help beginners start reading quickly and experienced players expand their repertoire using measures, tempo and rhythmic symbols.
Practical benefits: play more melodies without memorizing everything, develop visual memory and access a wide repertoire. Emmanuel Bigand’s research also shows the positive effects of music on cognition.
In the following sections, you will learn how to prepare the instrument, read numbered and letter notation, understand advanced tablature, note lengths and phrasing, and practice techniques and guided exercises to improve your accuracy from the start.
Introduction to the kalimba and its notation systems
Originating in Africa, this small thumb piano combines portability with a rich melodic sound. Its resonant body holds metal tines that you pluck with your thumbs to produce clear notes.
The tines are arranged from the center outward, alternating right and left. This layout makes patterns easier to remember and helps coordinate your hands and eyes when playing simple songs on the kalimba.
The thumb piano: a brief overview
Since Hugh Tracey models became widespread in 1954, a diatonic version has become established in export markets. Tracey standardized some tunings, making the instrument accessible to musicians around the world.
Why learn to read music without knowing music theory
Three systems coexist: numbered NMCA (1–7) with octave marks, letter notation (C–B) and dedicated tablature. Without extensive theory knowledge, you can begin with numbers and letters, then move on to tablature for greater precision.
- Benefits: access to widely usable sheet music and a rapidly expanding repertoire.
- Cognitive gains: visual memory, attention and hand–eye coordination.
- Easier sharing: exchange sheet music and progress independently.
| System | Notation | Advantage | Ideal for |
|---|---|---|---|
| NMCA | Numbers 1–7 | Simple and quick to learn | Beginners without music theory knowledge |
| Letter notation | Letters C–B | Compatible with standard sheet music | Transposition and basic theory |
| Tablature | Columns representing the tines | Great precision for fingering | Players seeking detail and arrangements |
To learn more, the rest of the article explains each system and offers practical exercises to help you improve quickly.
Prepare the instrument before reading
Before reading any music, prepare your instrument to ensure accurate playing. A quick check prevents mistakes and makes practice smoother.
Tuning, number of tines and model limitations
Most standard models have 17 tines tuned to C major. There are also 8- and 21-tine versions with different ranges.
Tip: always check the tuning and key before tackling a piece. An 8-tine instrument cannot play a piece written for 17 tines if it lacks some of the notes.
Visual guides: stickers, colors and engravings
To help beginners, add stickers or use colored tines to identify key notes. Engraved numbers or letters provide an immediate guide.
In some notation systems, dots indicate the octave to prevent confusion about pitch.
- Check the tuning: often C major, sometimes F.
- Compatibility: a 21-tine model can play music written for 17 tines; the reverse is limited.
- Simple method: map your tines on an annotated photo.
- Regular practice: check the tines, their alignment and how they sound.
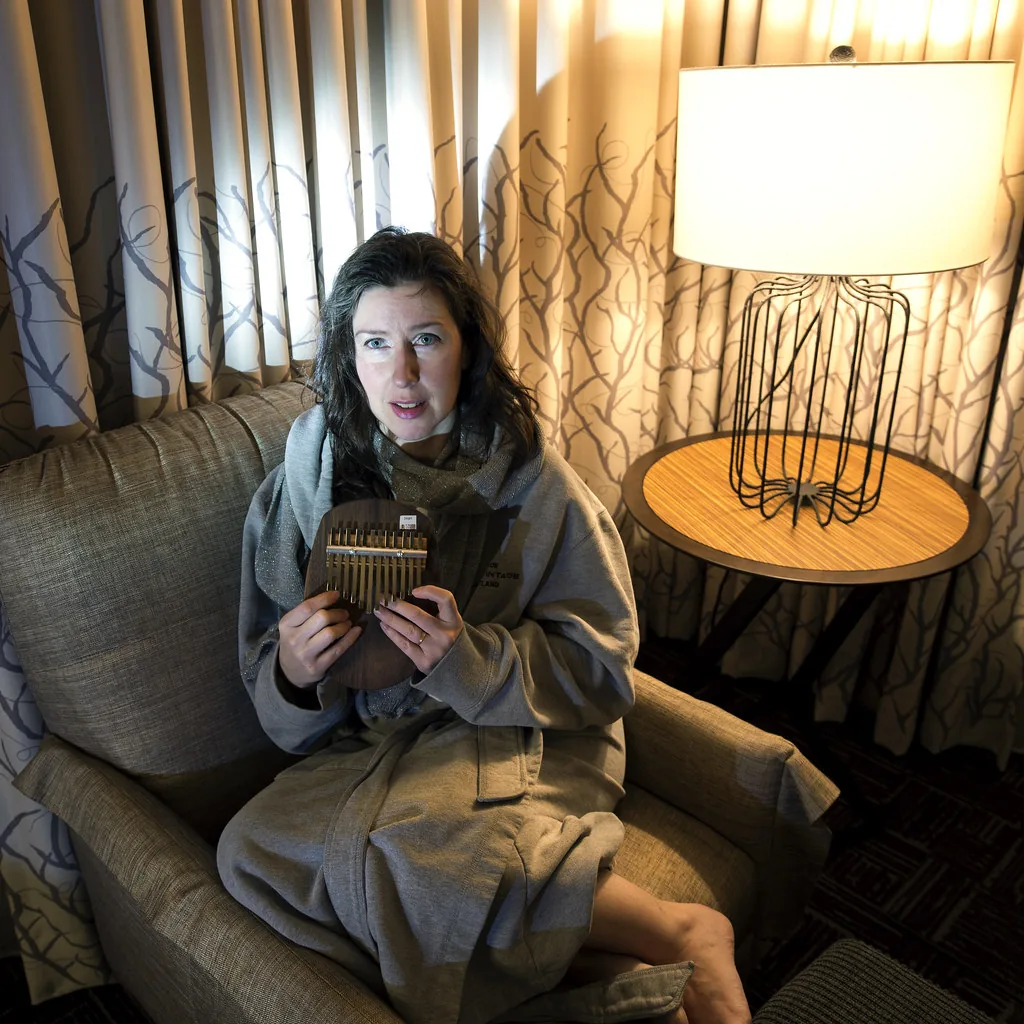
| Model | Number of tines | Strength | Limitation |
|---|---|---|---|
| Starter | 8 | Simple, ideal for getting started | Limited range, missing notes |
| Standard | 17 | Wide repertoire in C major | Fewer octaves than a 21-tine model |
| Extended | 21 | More octaves and harmonic options | More complex for beginners |
To go further, consult this beginner’s guide, which explains tuning and practical reference points.
Read numbered kalimba notation step by step
Start by understanding the numbered code: it turns sheet music into simple guides for your fingers.
NMCA correspondence: the numbers 1 to 7 represent the notes C through B. This makes it easier to remember and locate the tines.
Octaves: a mark such as °, * or ’ raises a note by one octave. Two marks indicate two octaves above. Look for these marks above or below the number to identify the pitch quickly.
Rests, simultaneous notes and reading
0 indicates a rest: you play no note for that duration. Do not confuse it with the number 4 (F).
Simultaneous notes are written in parentheses, such as (6°1°°), or joined by a hyphen, such as 6°-1°°. These marks indicate a chord or playing with both thumbs.
| Symbol | Meaning | Use |
|---|---|---|
| 1–7 | C–B | Simple reference points |
| °, *, ’ | +1 octave (once or twice) | Place above the number |
| 0 | Rest | Breath or pause |
You generally read each line from left to right, then move from top to bottom. For timing, if the rhythm is not shown, listen to the piece or use an advanced version that specifies note lengths.
Mini exercise: play 1 2 3 5 (C D E G), then (1°3°) to feel the transition from a single note to a chord.
For more detail, consult this practical guide.
Letter notation: C D E F G A B and quick conversion
Music written with C D E F G A B feels familiar to anyone who knows the musical alphabet. This letter notation system matches each letter to do re mi fa sol la ti and is read like conventional sheet music.
Conversion is direct: each letter matches an engraved or labeled tine. Thus, C in the music immediately points to the tine marked C, speeding up reading.
As with numbers, octaves are identified using marks (°, *, ’) or the context of the instrument’s range. Rhythm is usually not specified. A metronome helps you maintain note lengths and articulate the melodies.
Example and practical tips
A simple example: C E G (do mi sol) forms a C chord, with C on the center tine, E on the right and G on the left of a 17-tine model tuned to C. Play slowly to check the balance.
- Mark tines with dots or stickers to save time.
- Compare letters and numbers (C → 1, D → 2, etc.) to check your reference points.
- Listen to the original piece again to adjust nuances the notation does not specify.
“Matching each letter to a tine makes practice and memorization easier.”
“Advanced” sheet music: measures, tempo and separate melody and harmony lines
Advanced sheet music provides precise markings that structure each measure and guide your playing. It may show a time signature such as 4/4 and a speed in BPM. These reference points help you understand the length of each beat and how the notes are distributed.
Time signatures, markers and BPM
The time signature (for example, 4/4) indicates the number of beats in a measure and the note value that receives one beat. BPM (beats per minute) sets the speed: 75 is slow, 120 is moderate and 160 is fast.
Read from left to right and play two lines together
The layout follows the usual reading direction, from left to right. Vertical lines separate measures, and numbered markers make it easier to navigate the piece.
Under a brace, two separate lines show the melody and harmony to play together. Horizontal lines near the numbers specify relative note length (quarter note, half note, etc.).
Practical tip: practice each line separately, then gradually combine them. For example, at marker (25), play the melody note and the harmony note for their indicated lengths. This approach makes rhythmic reading more reliable and helps you tackle more elaborate pieces.
To explore this type of sheet music further, consult this practical guide.
Kalimba tabs and tablature: how to read them step by step
Modern tablature represents each tine visually as a column and makes reading much easier. Invented by Mark Holdaway in 2003, it is read from bottom to top and organizes time along the columns.
Columns = tines; read from bottom to top
Each column corresponds to a tine. Time moves upward: start with the lowest note, then read toward the top.
When several notes are aligned
If several symbols appear on the same horizontal line, play them together. Use both thumbs to produce the chord.
Measure markers and tempo
Measures are marked by dark, numbered horizontal lines. The tempo appears at the top and sets the speed. Symbols (quarter notes, eighth notes…) show note lengths.
Example: a simple chord appears on one line; an arpeggio is written on neighboring tines and played in a sweeping motion.
| Element | Meaning | Practical example |
|---|---|---|
| Column | Each tine on the instrument | Read from bottom to top |
| Horizontal line | Measure or timing marker | Measure number on the right |
| Symbols | Note length (quarter note, eighth note…) | Follow the indicated tempo |
| Chords | Aligned notes → play simultaneously | Play with both thumbs |
Reading tip: scan the line, check the current measure and anticipate the next column to keep your playing smooth.
“Tablature’s visual clarity helps beginners and experienced players alike.”
To practice, use software such as KTabS to slow playback and learn to time your attacks on the kalimba tablature.
Understand note lengths without getting lost in music theory
Clear guides to note values turn a score into a playing plan. Here are simple ways to count and play confidently.
Whole, half, quarter and eighth notes, and beams
Essential note values: a whole note = 4 beats, a half note = 2, a quarter note = 1, an eighth note = 1/2 and a sixteenth note = 1/4 (in 4/4).
Beams connecting eighth notes visually group successive eighth notes without changing their individual values. They make rhythms easier to read and identify groups of notes to play in sequence.
Rests and metronome
Rests have matching values: whole rest (4), half rest (2), quarter rest (1), eighth rest (1/2). Observing them helps shape musical phrases.
| Element | Value (4/4) | Use | Application in tablature |
|---|---|---|---|
| Whole note | 4 beats | Hold a long note | Show the length above it |
| Quarter note | 1 beat | One clear beat | Count 1 per column |
| Eighth note (beamed) | 1/2 beat | Rhythmic groups | Connect the symbols for quick reading |
Practice routine: begin by reading a measure of quarter and half notes at 80 BPM, then repeat it with eighth notes added. Count the beats aloud and break down the measure if needed.
“Counting the beat aloud and penciling in note lengths makes sight-reading easier.”
Tip: write each value above its symbol the first time, then erase it once you have memorized it. This helps you learn the piece faster.
Useful signs and symbols in tablature
Simple symbols guide the player between rhythmic precision and expressive freedom.
Fermata: this sign suspends the tempo according to the musician’s intention. It can be placed above a note or an entire measure. In practice, mark it in pencil so you do not overlook it.
Tie: two connected notes of the same pitch mean that only the first is played. The second is sustained, extending the total duration without another attack.
A triplet fits three notes into the time normally taken by two. Players often count it “1-trip-let” to steady the rhythm. It creates an expressive contrast between duple and triple groupings.
An augmentation dot after a note adds half of its value. A second dot adds another quarter. These dots change how long a note is held without changing its attack.
- Placement: above or beside the note in sheet music and tablature columns.
- Effect on reading: these signs change the duration and feel of the measure.
- Combinations: a triplet can occur alongside a fermata to create contrast and nuance.
“Mark these signs before you try playing; your performance will feel more natural.”
Essential playing techniques for putting notation into practice
Mastering a few precise movements turns a score into a fluid performance. These essential techniques connect reading with playing.
Thumb position, right–left alternation and speed
Stable posture: hold the instrument with relaxed wrists. Align your thumbs to reduce tension.
Alternating right and left follows the tines’ zigzag layout. This improves speed and accuracy in fast passages.
Glissando, wide chords and two notes played at once
Glissando: place your thumbnail on one tine and slide it across adjacent tines. A slightly longer nail makes this harp-like effect easier.
Play chords by combining both thumbs or sweeping across several tines with a glissando for a fuller sound.
- Identify in advance which tablature columns must be played together.
- Short exercise: alternate right and left across 2–3 tines, then add a slow glissando.
- Begin slowly with a metronome, then gradually increase the speed.
| Technique | Purpose | Simple exercise |
|---|---|---|
| Posture | Reduce fatigue | Hold the instrument comfortably for 10 minutes |
| Alternation | Speed | Play 1-2-1-2 at 60 BPM |
| Glissando | Smooth effect | Slide slowly across 3 tines |
| Chords | Enrich the harmony | Play two notes at once, then three |
Final tip: mentally match numbered and letter notation to the tines as you practice. This speeds up reading and helps position your fingers for melodies and pieces.
For more technique advice and guided exercises, consult this guide to playing the kalimba.
Guided examples and short reading exercises
Short examples help you apply the theory. Here, you practice familiar fragments to build confidence and train your ear.
Read a simple melody in numbers and watch the octaves
NMCA exercise: play “Happy Birthday” using numbers. Mark the octave signs (°, *, ’) where a note needs to move higher.
Tip: mark the higher octave on the score before you first play it. Review the tine layout to avoid pitch mistakes.
Decode a sample tablature with chords and arpeggios
Short exercise: open the first measure of “Joy to the World.” Identify the chords aligned horizontally and find a short arpeggio on neighboring tines.
To read tablature, remember: read from bottom to top, play notes on the same line together, and play arpeggios across neighboring columns.
- Count the rhythm: match each symbol to a note length.
- Play slowly, keep a steady beat, then increase the tempo.
- Listen to the song, compare it with your playing and adjust the nuances.
“Breaking a piece into measures, repeating each one 2 to 4 times and then joining them together speeds up learning.”
Method: divide the passage into measures, repeat them, join them together, then write the fragment in numbers, letters and tablature to strengthen your understanding.
Write your own sheet music and tablature
To write a piece, first record your idea (with your voice or a smartphone), then quickly put it into numbers or letters. Test it on your instrument to check the pitch and articulation.
A simple method: capture, notate, test and finish
Steps: record the idea → write it in numbers or letters → play it, then adjust the meter and tempo → finalize the layout.
Tip: sketch it in numbers to work quickly, then convert it to kalimba tablature to share it and specify the rhythm.
Useful tools and software: KTabS and alternatives
KTabS lets you create kalimba tablature quickly, hear the tines, number measures and export files. It is useful for preparing teaching materials.
MuseScore and Flat.io support standard notation and conversion. They are useful if you publish sheet music for several instruments or want a printable result.
Add the essential symbols (tempo, ties, triplets and augmentation dots), then check readability: every column must match the correct tine and every measure must remain consistent.
- Export as PDF or PNG.
- Share an audio or video recording so others can hear the result.
- Create a library indexed by key, number of tines and difficulty to make learning easier.
“Test, export, then organize: this method makes it easier to share and track your pieces.”
Conclusion
,
Reading the signs systematically gives you a solid foundation for playing and creating melodies. Learning progresses from numbers and letters to advanced sheet music, then to visual tablature.
Beginners make quick progress with a metronome, short exercises and regular practice. Once you master these reference points, you can play songs on the kalimba and explore a varied repertoire.
Benefit: this method builds independence. You can write your own sheet music, share it and contribute to the music community.
Keep your instrument in tune, mark your tines and return to the key sections (measures, note lengths and techniques) to reinforce what you have learned and keep practicing every day.