
What you will learn: a guided, structured method for learning the kalimba effectively, from preparing the instrument to playing songs.
The thumb piano is a small, intuitive instrument. Its standard C major tuning and the arrangement of its tines support spatial memory.
Goal: learn to play the kalimba by mastering how to hold it, produce a clear note, and alternate your thumbs. The method covers tuning, hand position, chords, and effects such as vibrato and glissando.
Regular practice: a few minutes a day are enough to see progress within a few weeks and build a repertoire of simple songs.
Independent learning: at each step, you will know what to check (tuning, position, attack) and how to correct yourself to stay on track.
The rest of this article explains preparation, tuning, reading tablature, and progressive exercises for playing familiar songs.
Prepare Your Musical Instrument Before Playing
Before playing, prepare the instrument to avoid mistakes and build confidence. This quick step makes notes easier to remember and reduces errors during your first sessions.
Place the Stickers and Find Your Bearings
Most models come with colored or labeled stickers. Find the center tine (usually C), then notice how the notes alternate toward the left and right.
Place the stickers on the visible face of the tines so you can read them without covering the striking edge. This preserves the feel under your fingers and lets you produce a clear note.
Check the Engraved Notes and Match Them to the Tines
If the tines are engraved, compare their markings with the supplied note chart. Make sure each visual marker matches the intended tine so you can read it easily while playing.
- Go through every tine without playing it to confirm the markings line up.
- Put the remaining sticker sheet and note chart in the case.
- Avoid placing a sticker too low on the striking area: it could peel off or interfere with your playing.
“A few minutes of preparation are enough to help you play with greater confidence.”
This step helps you practice reliably. One final check sets you up well for the rest of the method.
Tune the Kalimba Easily With a Tuner
Before each session, accurate tuning ensures clear, consistent sounds. This quick step takes little time and prevents you from learning incorrect pitches.

Recommended Apps and Essential Equipment
Download a reliable tuning app (Smart Kalimba, gStrings, or Free Universal Tuner), or use a guitar tuner. You will also need a small tuning hammer to adjust each tine.
- Tuner (app or device)
- Tuning hammer for precise adjustments
Step-by-Step Tuning Procedure
Start with the center tine (often C). Play it, check the tuner reading, then adjust it.
If the note is too sharp (♯), gently tap the tine down. If it is too flat (♭), tap it up. Make several small adjustments instead of striking it hard once.
Note Chart and How Often to Check Tuning
| Letter | Note |
|---|---|
| C | C |
| D | D |
| E | E |
| F | F |
| G | G |
| A | A |
| B | B |
Check the notes one tine at a time using this chart. Instruments sometimes go out of tune during transport; check the tuning at least once a week.
“Tuning in a quiet place at a stable temperature improves accuracy.”
Grip, Posture, and Hand Placement
Holding the instrument properly improves sound projection and comfort. Hold it with both hands, with the tines facing forward. Keep your grip relaxed: place your thumbs on top and rest your fingers lightly against the back to steady it.
Hold the Instrument Without Blocking the Holes
Do not cover the front or rear sound holes. Keeping these openings clear preserves the sound and later lets you produce effects such as wah-wah or vibrato.
Thumbs, Nails, and Finger Position
Your thumbs pluck the tines: use the tip of your nail for a clear attack. If your nails are short, use the pads of your thumbs or wear small guards.
- Rest the instrument in your palms, with your thumbs ready to pluck the tines.
- Keep your wrists relaxed and tilt the instrument slightly so you can see the tines.
- Another option is to place the instrument on a flat surface while you are starting out.
- Do not grip it too tightly, as this can restrict vibration.
Before playing, check that your thumbs are aligned and the sound holes remain clear.
Learn to Play the Kalimba Simply
Start by mastering how to pluck a single tine to produce a clear, steady note.
Play a Clean Note With Your Thumb
Place your thumb near the edge of the tine, press it slightly toward the body of the instrument, then release it with a decisive motion.
Do not stop the vibration: let the tine ring to preserve the note’s natural sound.
Alternate Left and Right From the Center Tine
Start in the center, then play to the left and right while maintaining a steady rhythm.
Example sequence: C (center), D (left), E (right), F (second tine on the left), G (second tine on the right).
Form a Chord and Play a Progression
To form a simple chord, pluck two adjacent tines with one thumb or play two tines farther apart with both thumbs.
Alternate a chord with a single note at a slow tempo. Repeat several times to steady the rhythm and dynamics.
“Play an ascending pattern and then a descending one from the center, and finish with two simple chords.”
Short exercise: once a day, play upward and then downward from the center, finishing with two chords. These movements will make reading and creating arrangements easier.
To go further and read a complete guide to playing the kalimba, follow this link.
Read and Use Kalimba Tablature and Sheet Music
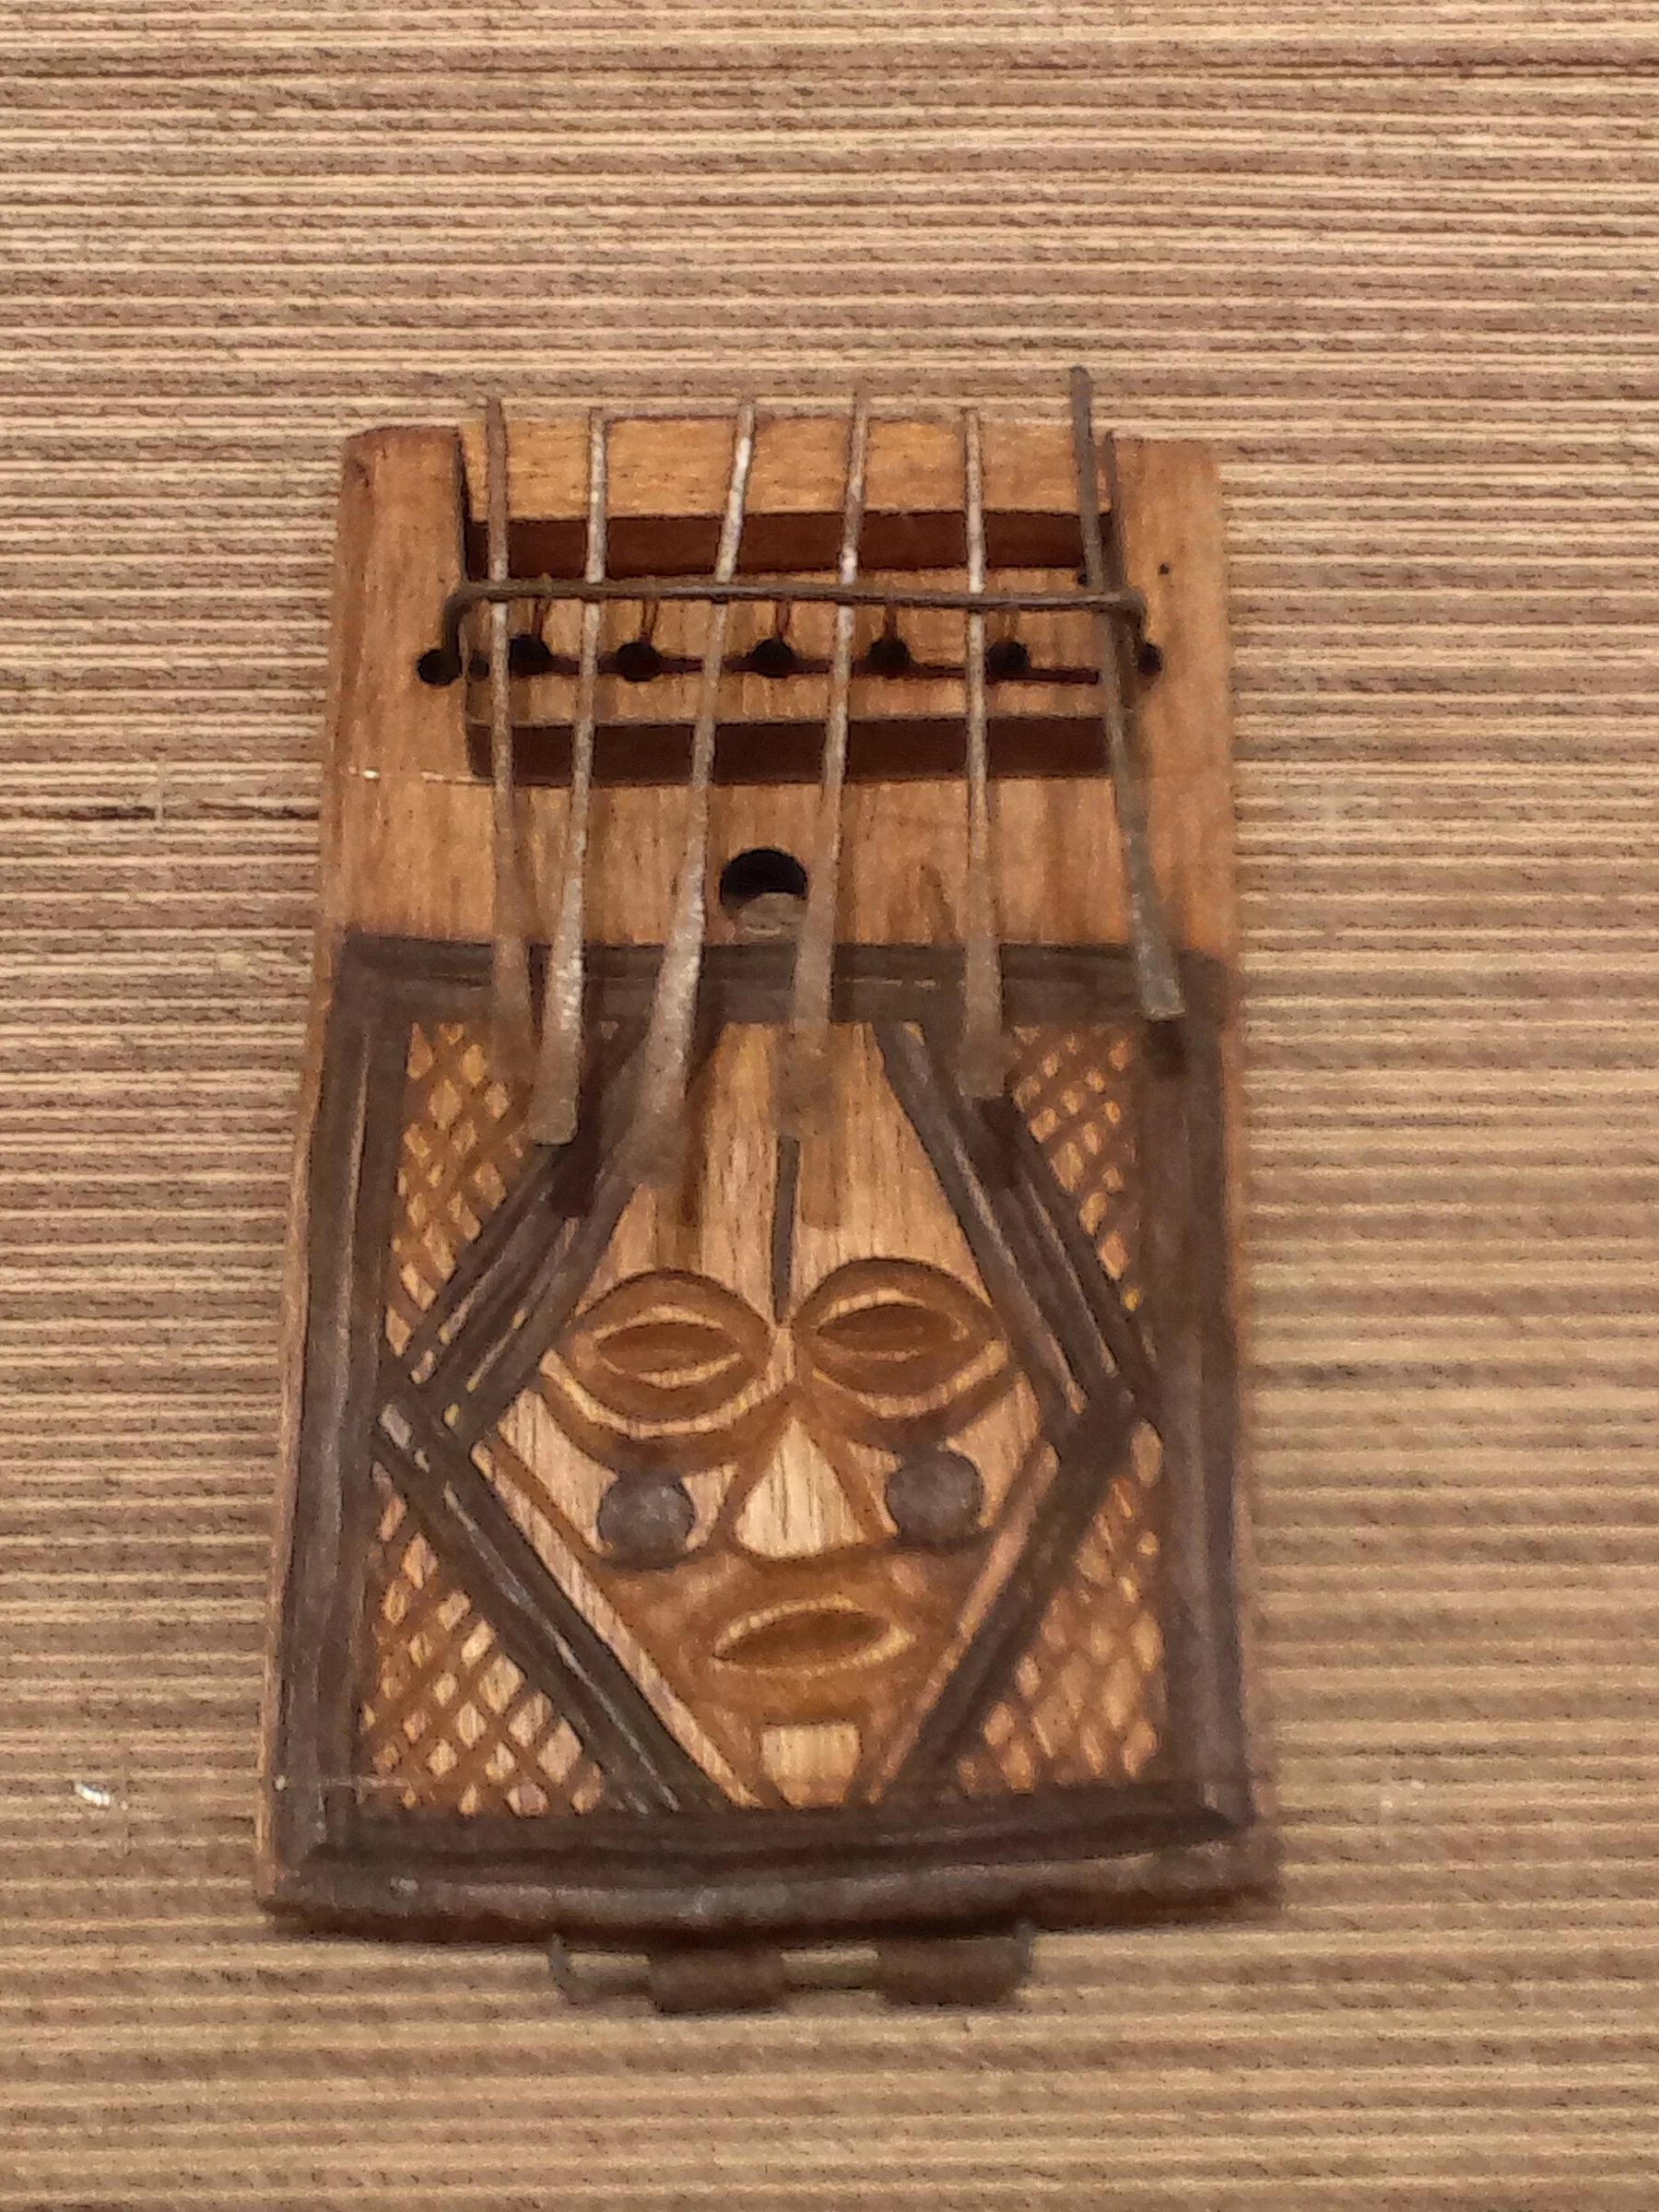
Reading tablature turns a diagram into a series of actions on your instrument. Start by choosing notation that matches the exact number of tines on your instrument, such as 17-tine kalimba tablature for a standard model.
Choose Notation and Check That It Matches
Select sheet music whose layout matches your tines to avoid notes your instrument cannot play. Check that each symbol points to the intended tine in your tuning.
Reading Tablature and Practical Rules
Tablature represents the tines; dots indicate which ones to pluck. It is generally read from bottom to top. Each column of dots follows one tine’s line: play at the indicated moment, following the direction of reading.
Sheet Music and Simplified Music Theory
Notation closer to standard music theory places notes on a staff and often adds numbers to identify the tines. Two stacked dots indicate a chord to play simultaneously. A closely spaced series of dots indicates a glissando.
Learn in Sections and Work on Tempo
Break the piece into short sections. Practice slowly with a metronome, then put the sections together. Listen to the original version to adjust your timing and expression.
- Check that each symbol matches its tine before learning the piece.
- Repeat each section until the movements become automatic.
- Combine tablature, audio, and a metronome to improve.
“Start with slow, melodic songs; you will gain confidence and musicality.”
To learn more about reading music and find examples and suitable scores, consult this sheet music reading resource.
Techniques and Effects to Enrich Your Music
A few well-practiced movements can enrich the sound of your songs. This section describes three accessible effects for models with a hollow sound box.

Glissando Outward and Back Toward the Center
A glissando involves sliding your thumb across several adjacent tines to connect the notes smoothly.
Maintain light, continuous pressure as you brush the tines to make the movement clear.
Begin with outward glissandos; they feel more natural. Then try moving back toward the center.
Wah-Wah Effect Using the Front Sound Hole
Place your thumb or palm in front of the front hole, then cover and uncover it rhythmically after plucking a tine.
The center notes respond best; the effect changes the tone without distorting the note.
Vibrato Using the Rear Holes
Use your ring fingers to open and close the rear or side holes. Time the movement with the ringing note.
For greater expression, combine the front wah-wah with rear vibrato. Use them sparingly to highlight the natural sound.
- Vary the range of your glissandos: 3 tines for a triad, 4 for a seventh chord, and 5 for a ninth chord.
- Add a glissando at the end of a phrase or a wah-wah effect on a sustained note.
- Check compatibility: these techniques require a sound box with holes.
“Use these effects to color your performance, never to obscure it.”
Choose an Instrument and Tuning That Support Your Progress
Choosing a suitable musical instrument from the start makes progress easier and helps you avoid technical limitations.
17-Tine Kalimbas for Beginners and Other Models
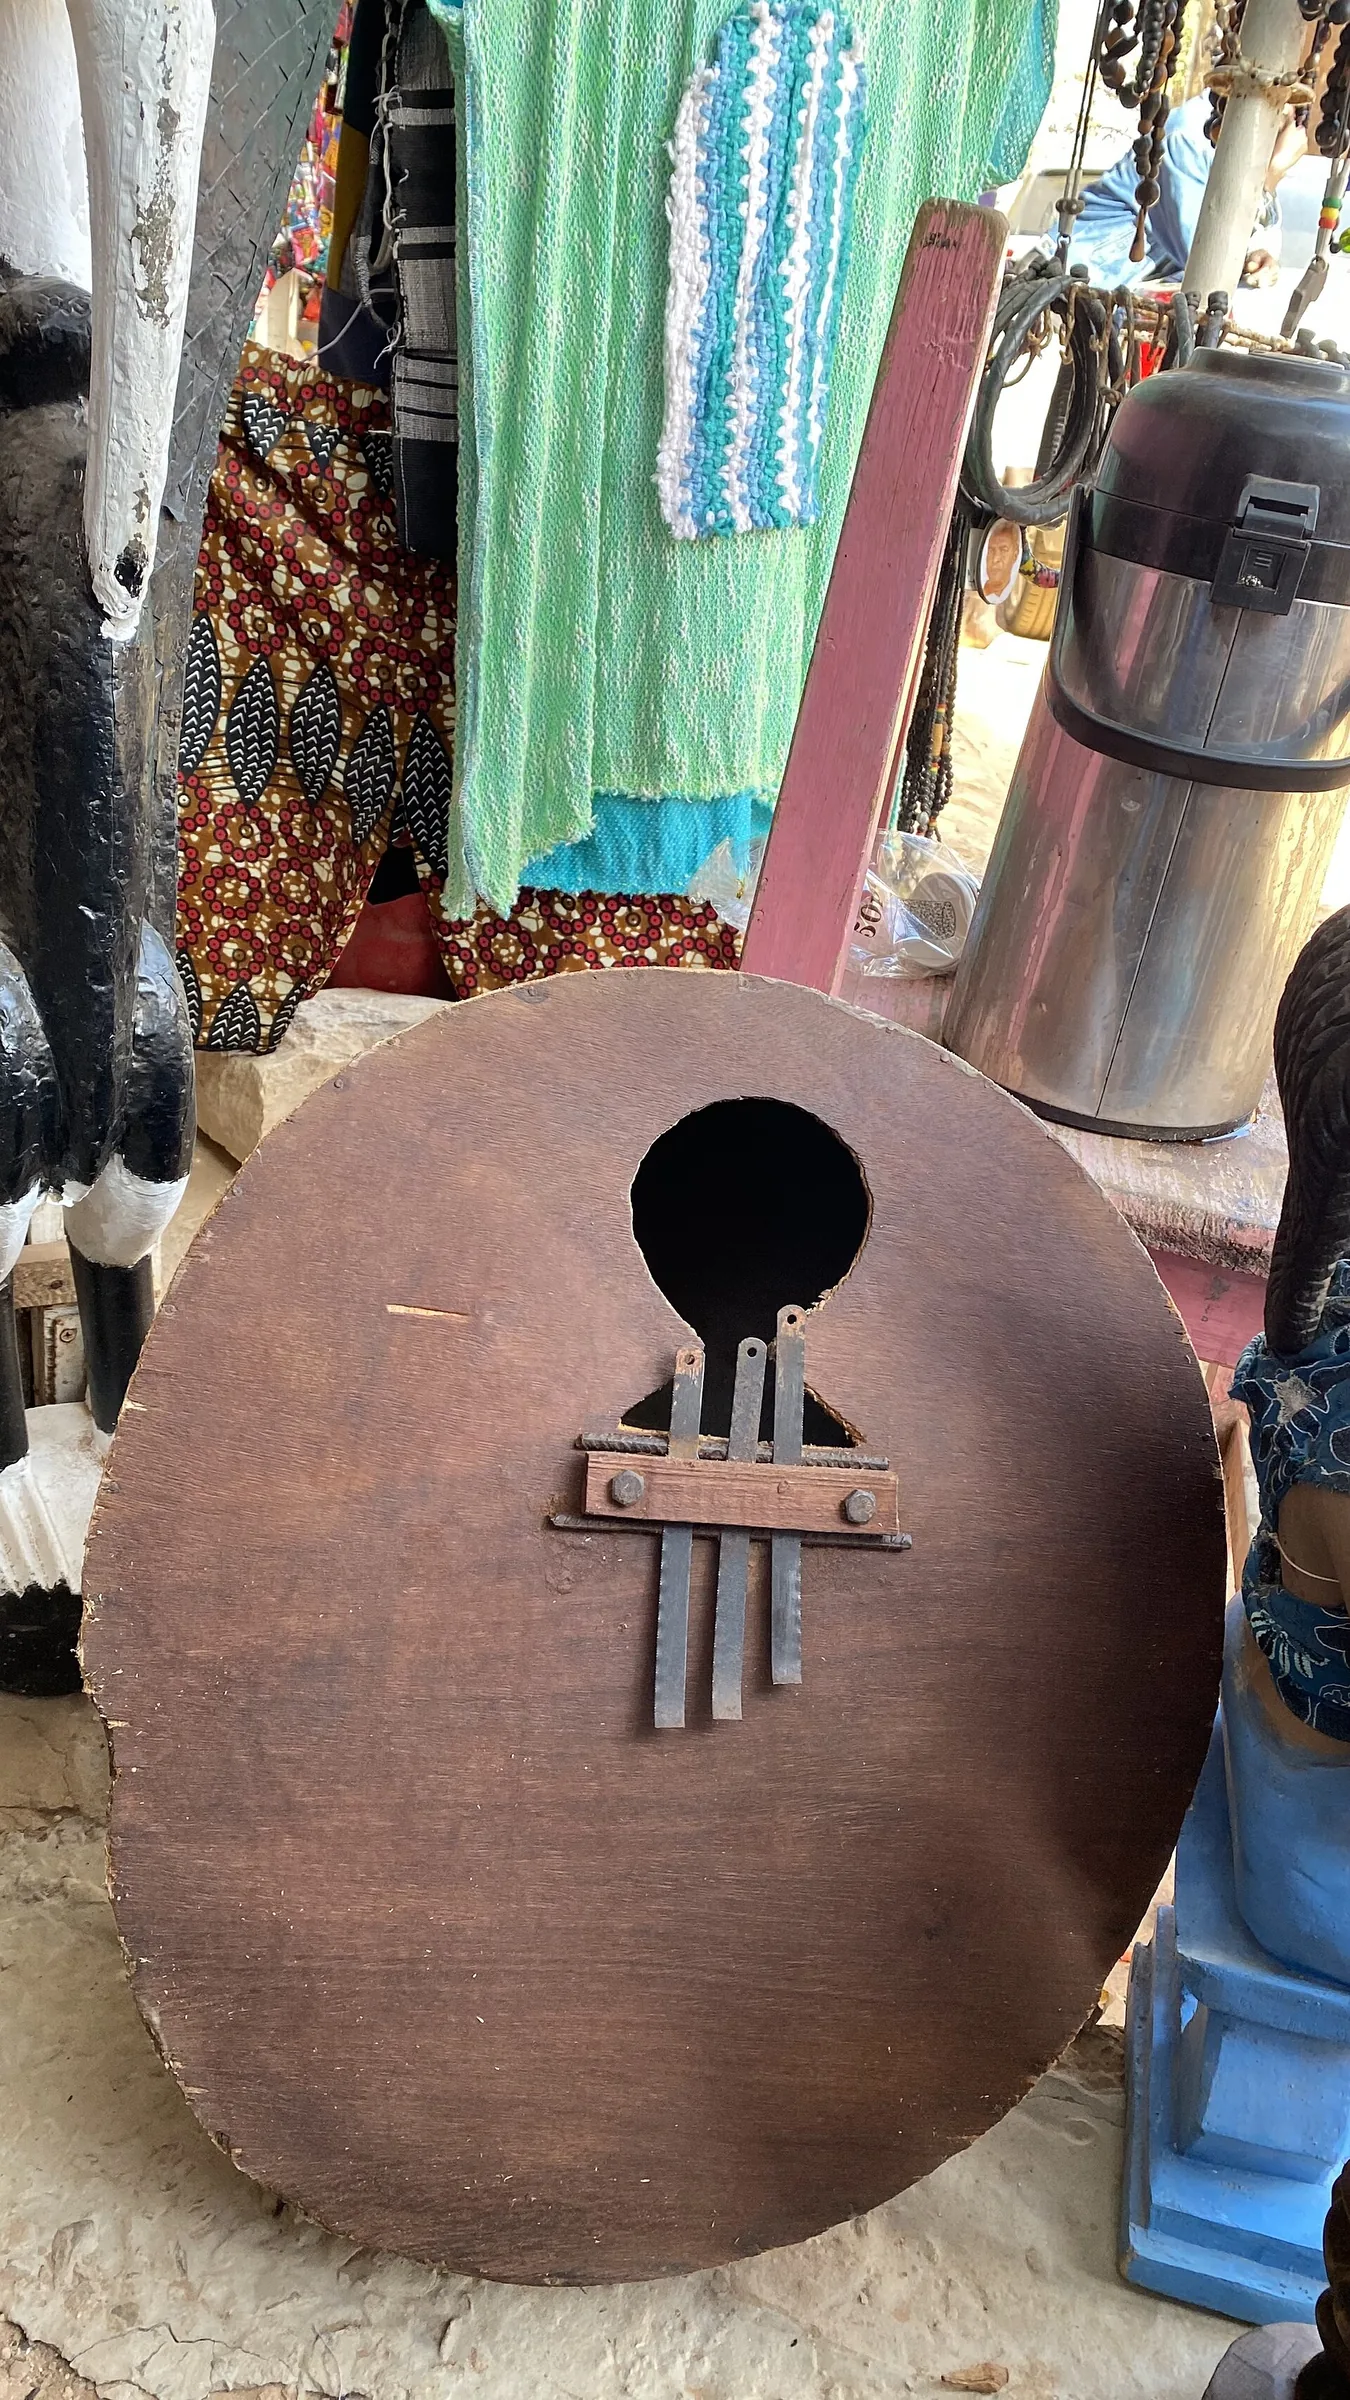
Choose a 17-tine model. It offers a good balance of range, readability, and comfort for learning notes and chords.
Models with 7 or 8 tines are fun, but soon limit the variety of songs you can play.
Range Limits, Retuning, and the Chromatic Option
The lowest note is in the center and often serves as the root. The outer tines are shorter and produce higher notes.
For most songs, standard tuning is enough. You can, however, retune the instrument for particular pieces or choose a chromatic model to play sharps and flats.
| Criterion | Advantage | Drawback |
|---|---|---|
| 17 tines | Good range and easy-to-read layout | Few sharps or flats |
| 7 or 8 tines | Compact and simple | Limited range |
| Chromatic | Harmonic flexibility | More complex reading and technique |
- Check the spacing between tines and their finish to reduce mistakes.
- Keep a tuning hammer, cloth, and case for maintenance.
- Start with a 17-tine model, then add another instrument if your repertoire expands.
“An instrument that suits you lets you play, invent, and improve without unnecessary constraints.”
For a complete guide to choosing an instrument and tuning it, consult this beginner’s guide.
Thumb Pain, Nails, and Thumb Guards
Your thumbs often feel sensitive during your first sessions. This is normal: your skin is not yet used to repeated plucking.
The good news: a small callus develops over time, and the discomfort usually disappears after a few weeks.
Manage Early Sensitivity and Build Your Practice
Choose several short sessions a day instead of one long session. This limits soreness and helps your thumbs adapt.
Use less pressure on each tine: let it vibrate without pressing too hard. If your nails are short, use the pads of your thumbs or a thumb guard.
- Guards: silicone sleeves or plastic guards soften the impact during your first sessions.
- Posture: keep your wrists relaxed to avoid tension that increases discomfort.
- Rest: break up repetitions and moisturize your skin lightly after practicing.
“Stop if the pain persists; return later and gradually increase your playing time.”
Learn the Kalimba on Your Own: A Simple Step-by-Step Method
Progressive practice over several weeks helps you develop technique and musicality together. Follow a short, regular program so each step becomes more natural.
Six-Week Program
Weeks 1 and 2: build the foundations. Practice holding the instrument (visible face toward you), plucking with your thumbs, and alternating between the center, left, and right. Learn two or three chords formed on adjacent tines.
Weeks 3 and 4: start reading tablature. Break songs into short sections, repeat them with a metronome, and gradually join the patterns together.
Weeks 5 and 6: add effects if your instrument’s body allows them: glissando, wah-wah, or vibrato. Also practice small tuning changes for certain songs.
Organize Each Session
- Practice for 10 to 20 minutes a day, with days of active rest.
- Spend 5 minutes warming up (zigzag scales), 10 minutes on a pattern, and 5 minutes exploring.
- Quickly check the tuning at the start of your session with an app or tuner, using the notes C, D, E, F, G, A, and B.
Manage the tempo: start slowly and increase it by 5 beats per minute after three clean performances. Practice with both hands in mirrored patterns to even out your attack and volume.
“Record a short passage each week to measure your progress and adjust what you practice next.”
To explore the method further and find guided songs, follow this link to a complete guide to playing the kalimba.
Conclusion
With a short, focused routine, your instrument becomes a creative companion. A clear progression—from preparation and tuning to holding the instrument, alternating thumbs, reading notation, and adding effects—builds a solid foundation for playing songs.
The tines respond quickly to repeated movements. By checking the tuning, your posture, and your attack at every session, you preserve the sound and make steady progress.
Protect your thumbs and nails, keep the sound holes clear, and have a tuner handy. To go further, consult a practical guide to learning the thumb piano.
A little time, regular practice, and a few well-mastered techniques are enough to create beautiful pieces.