
Goal: a clear, step-by-step guide to help you start playing the kalimba today, without reading music, and hear results quickly.
The kalimba is a small, portable instrument with a soothing sound. Its size, reasonable cost, and direct contact between the thumbs and tines make it ideal for beginners.
Before you start, prepare the instrument: add note stickers, check the tuning with an app such as Smart Kalimba or gStrings, and preferably choose a 17-tine model in C major.
We will cover the basics: how to hold the instrument, the tine layout, and alternating thumbs, followed by chords, tabs, and simple songs. Regular tuning keeps the notes accurate and makes learning more rewarding.
To learn more about the instrument’s construction and history, read this practical guide: everything you need to know about the kalimba.
How to Play the Kalimba: A Complete Beginner’s Guide
A step-by-step approach makes learning easier and helps you make early progress. Simple goals also make that progress easier to measure.
Tutorial goals and results after a few weeks
Learning the basics in a few weeks is a realistic goal. Start by preparing the instrument, learning how to hold it, and alternating your thumbs.
With regular practice, you will be able to tune the instrument, play sequences of notes, and perform simple melodies.
Overview of the steps
- Preparation: note stickers and initial tuning.
- Technique: holding the instrument, alternating thumbs, and playing notes outward from the center.
- Reading: vertical tabs and simplified sheet music.
- Adding expression: glissando, wah-wah, and vibrato within the limits of a diatonic instrument.
| Stage | Estimated time | Goal |
|---|---|---|
| Preparation | 1 to 2 sessions | Tune the instrument and add note markers |
| Basic technique | 2 to 4 weeks | Hold the instrument, alternate thumbs, and play steady sequences |
| Reading & expression | 3 to 8 weeks | Read tabs and add effects |
For a series of lessons and practical examples, see this detailed tutorial. Practice several times a week and correct common mistakes: poor posture, inaccurate tuning, or skipping steps.
Choosing a kalimba for beginners
When choosing a model, consider its range, construction, and tuning stability.
Number of tines and what they offer: models with 7 or 8 tines are very simple to use. Ten-tine models offer more possibilities while remaining accessible. A 17-tine model in C major is the best compromise for most needs. It covers the range required for most songs and has plenty of learning resources.
Wood, sound box, and sound holes
Kalimbas with a wooden sound box produce a warmer, more projecting sound. The front opening allows wah-wah effects, while the rear holes can be used for vibrato.
Flat models are more compact and produce a clearer sound, but they do not always allow these variations.
Useful accessories
- A tuner or apps such as Smart Kalimba, gStrings, and Free Universal Tuner.
- A tuning hammer for adjusting the tines.
- Note stickers and silicone thumb guards.
Chromatic models offer a wider repertoire, but they are more demanding. For your first purchase, prioritize good-quality tines and stable tuning. To explore recommended 17-tine models, read about the 17-tine kalimba.
Preparing the instrument before playing
To get off to a good start, tune the instrument accurately and place visual markers on the tines. These simple steps help prevent mistakes and make practice more enjoyable.
Adding stickers or choosing engraved tines helps you find your way around immediately. Stickers let you identify each note quickly and reduce hesitation during practice.
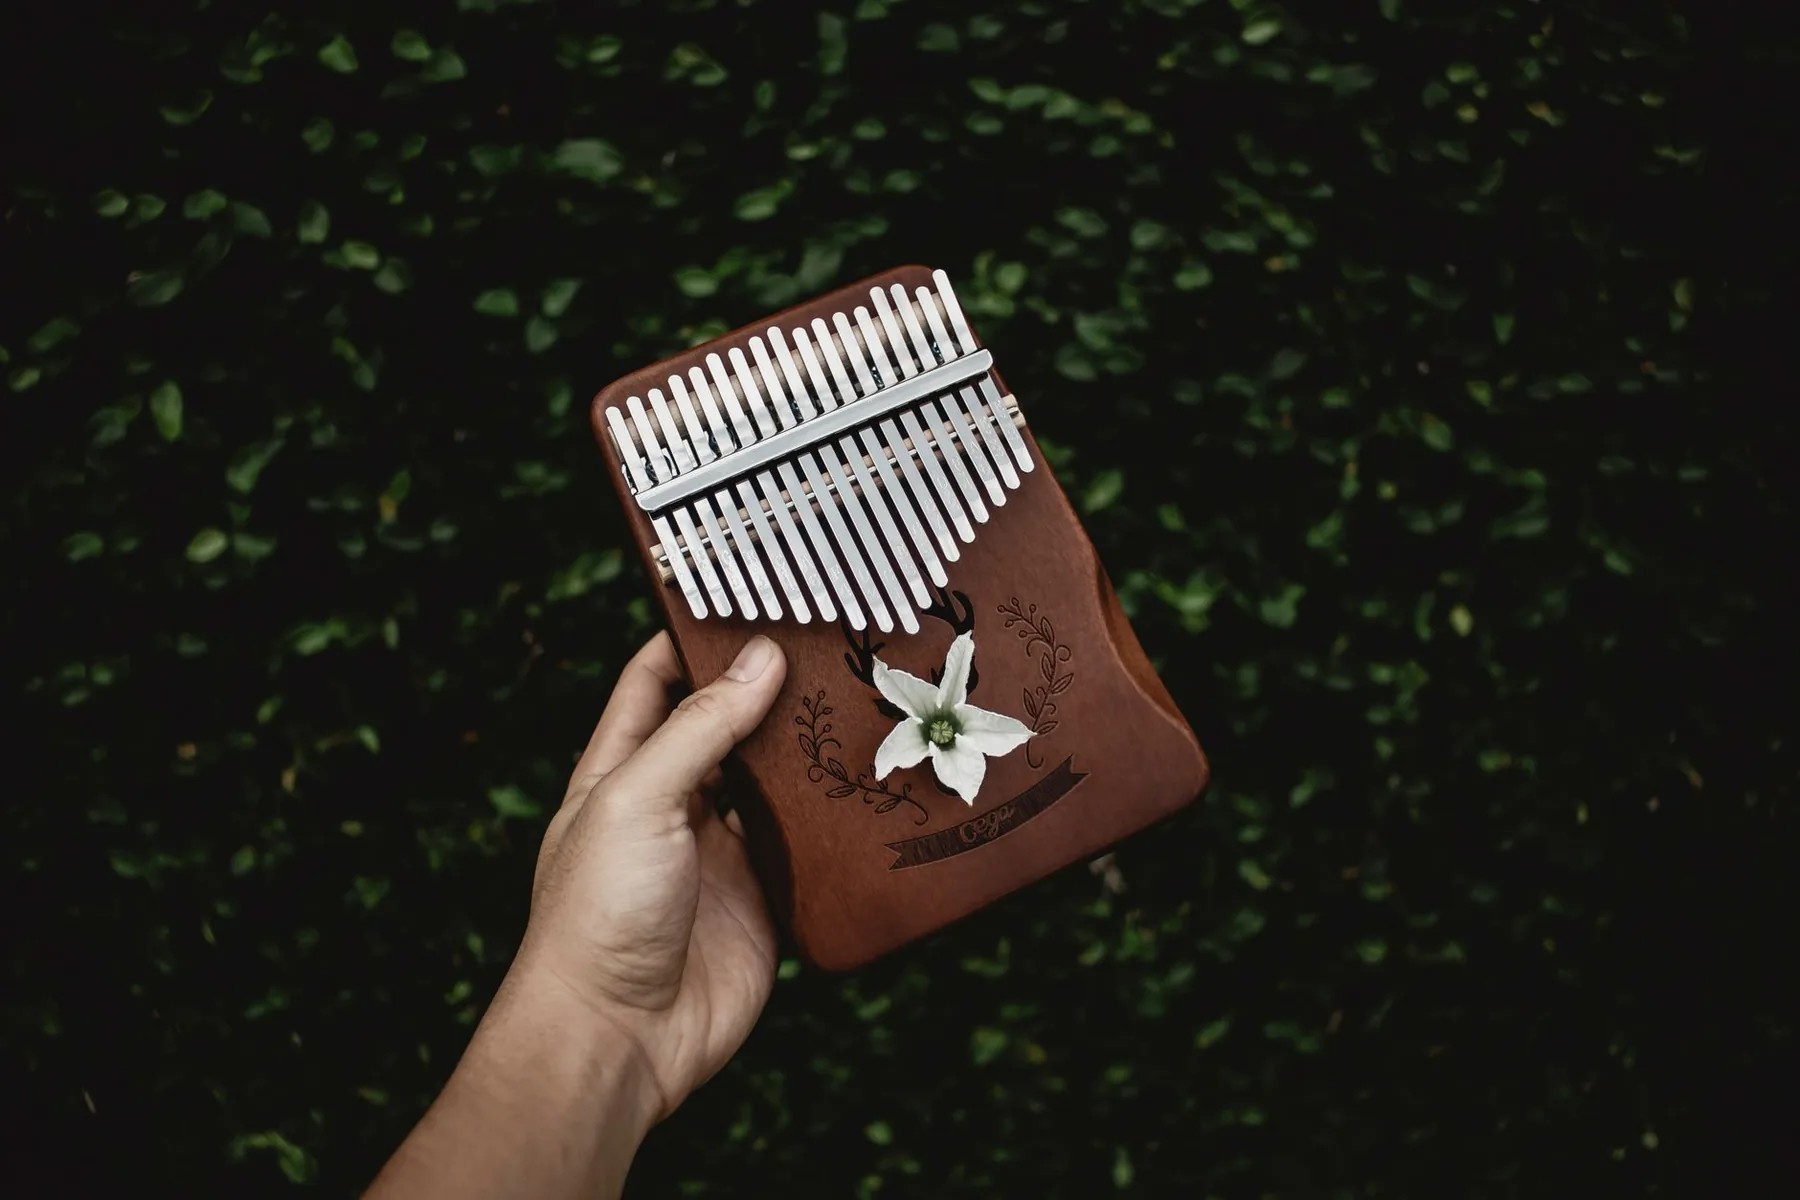
Tuning with a tuner and hammer
Install a tuning app, such as Smart Kalimba, gStrings, or Free Universal Tuner, and start with the center tine, tuned to C.
Play the tine, read the tuner, and adjust the pitch:
- If the note is too sharp (♯), tap the top of the tine downward with the hammer.
- If the note is too flat (♭), raise the tine by tapping it from below.
Work symmetrically outward, following the C-D-E-F-G-A-B note sequence. A few small adjustments are usually enough.
| Action | Tool | Frequency |
|---|---|---|
| Visual markers | Stickers or engraved tines | Once, during setup |
| Initial tuning | Tuner and hammer | After purchase or transport |
| Tuning check | Tuner | Every week |
Transport can shift the tines, so check the tuning after every trip. Keep the tuner and hammer handy for quick adjustments. For more practical details, learn how to tune a kalimba.
Grip, posture, and hand position
How you hold the instrument affects your thumbs’ freedom of movement and the precision of each note. Keep it simple: hold the kalimba between your hands with the tines facing you.
Place your thumbs in front to play. Wrap your other fingers around the back to steady the instrument. Avoid blocking the front opening or the two rear holes: they affect resonance and sound effects.
Position and alternatives
If you are a beginner, place the instrument on a table. This frees your thumbs and steadies both hands. Try different plucking angles to find the best contact with the tines.
Nails, thumb pads, and preventing pain
For a crisp attack, use the tip of your thumbnail. You can also use the pad of your thumb, although it produces a softer attack.
- Some discomfort at first is common and often temporary.
- Try silicone thumb guards, adjust your plucking angle, and practice in several short sessions.
- Relax your shoulders and keep your wrists loose for fluid playing.
| Element | Advice | Effect |
|---|---|---|
| Standard grip | Thumbs in front, fingers behind | Stability and precision |
| Sound holes | Do not cover the front opening or rear holes | Better resonance and access to effects |
| Protection | Silicone guards or short nails | Less discomfort and more control |
For more guidance, follow this step-by-step method and adapt your position to what feels comfortable.
First notes, rhythms, and chords
Start by finding the center tine: on a 17-tine kalimba in C major, it is often the lowest note. The notes then alternate left and right as their pitch rises.
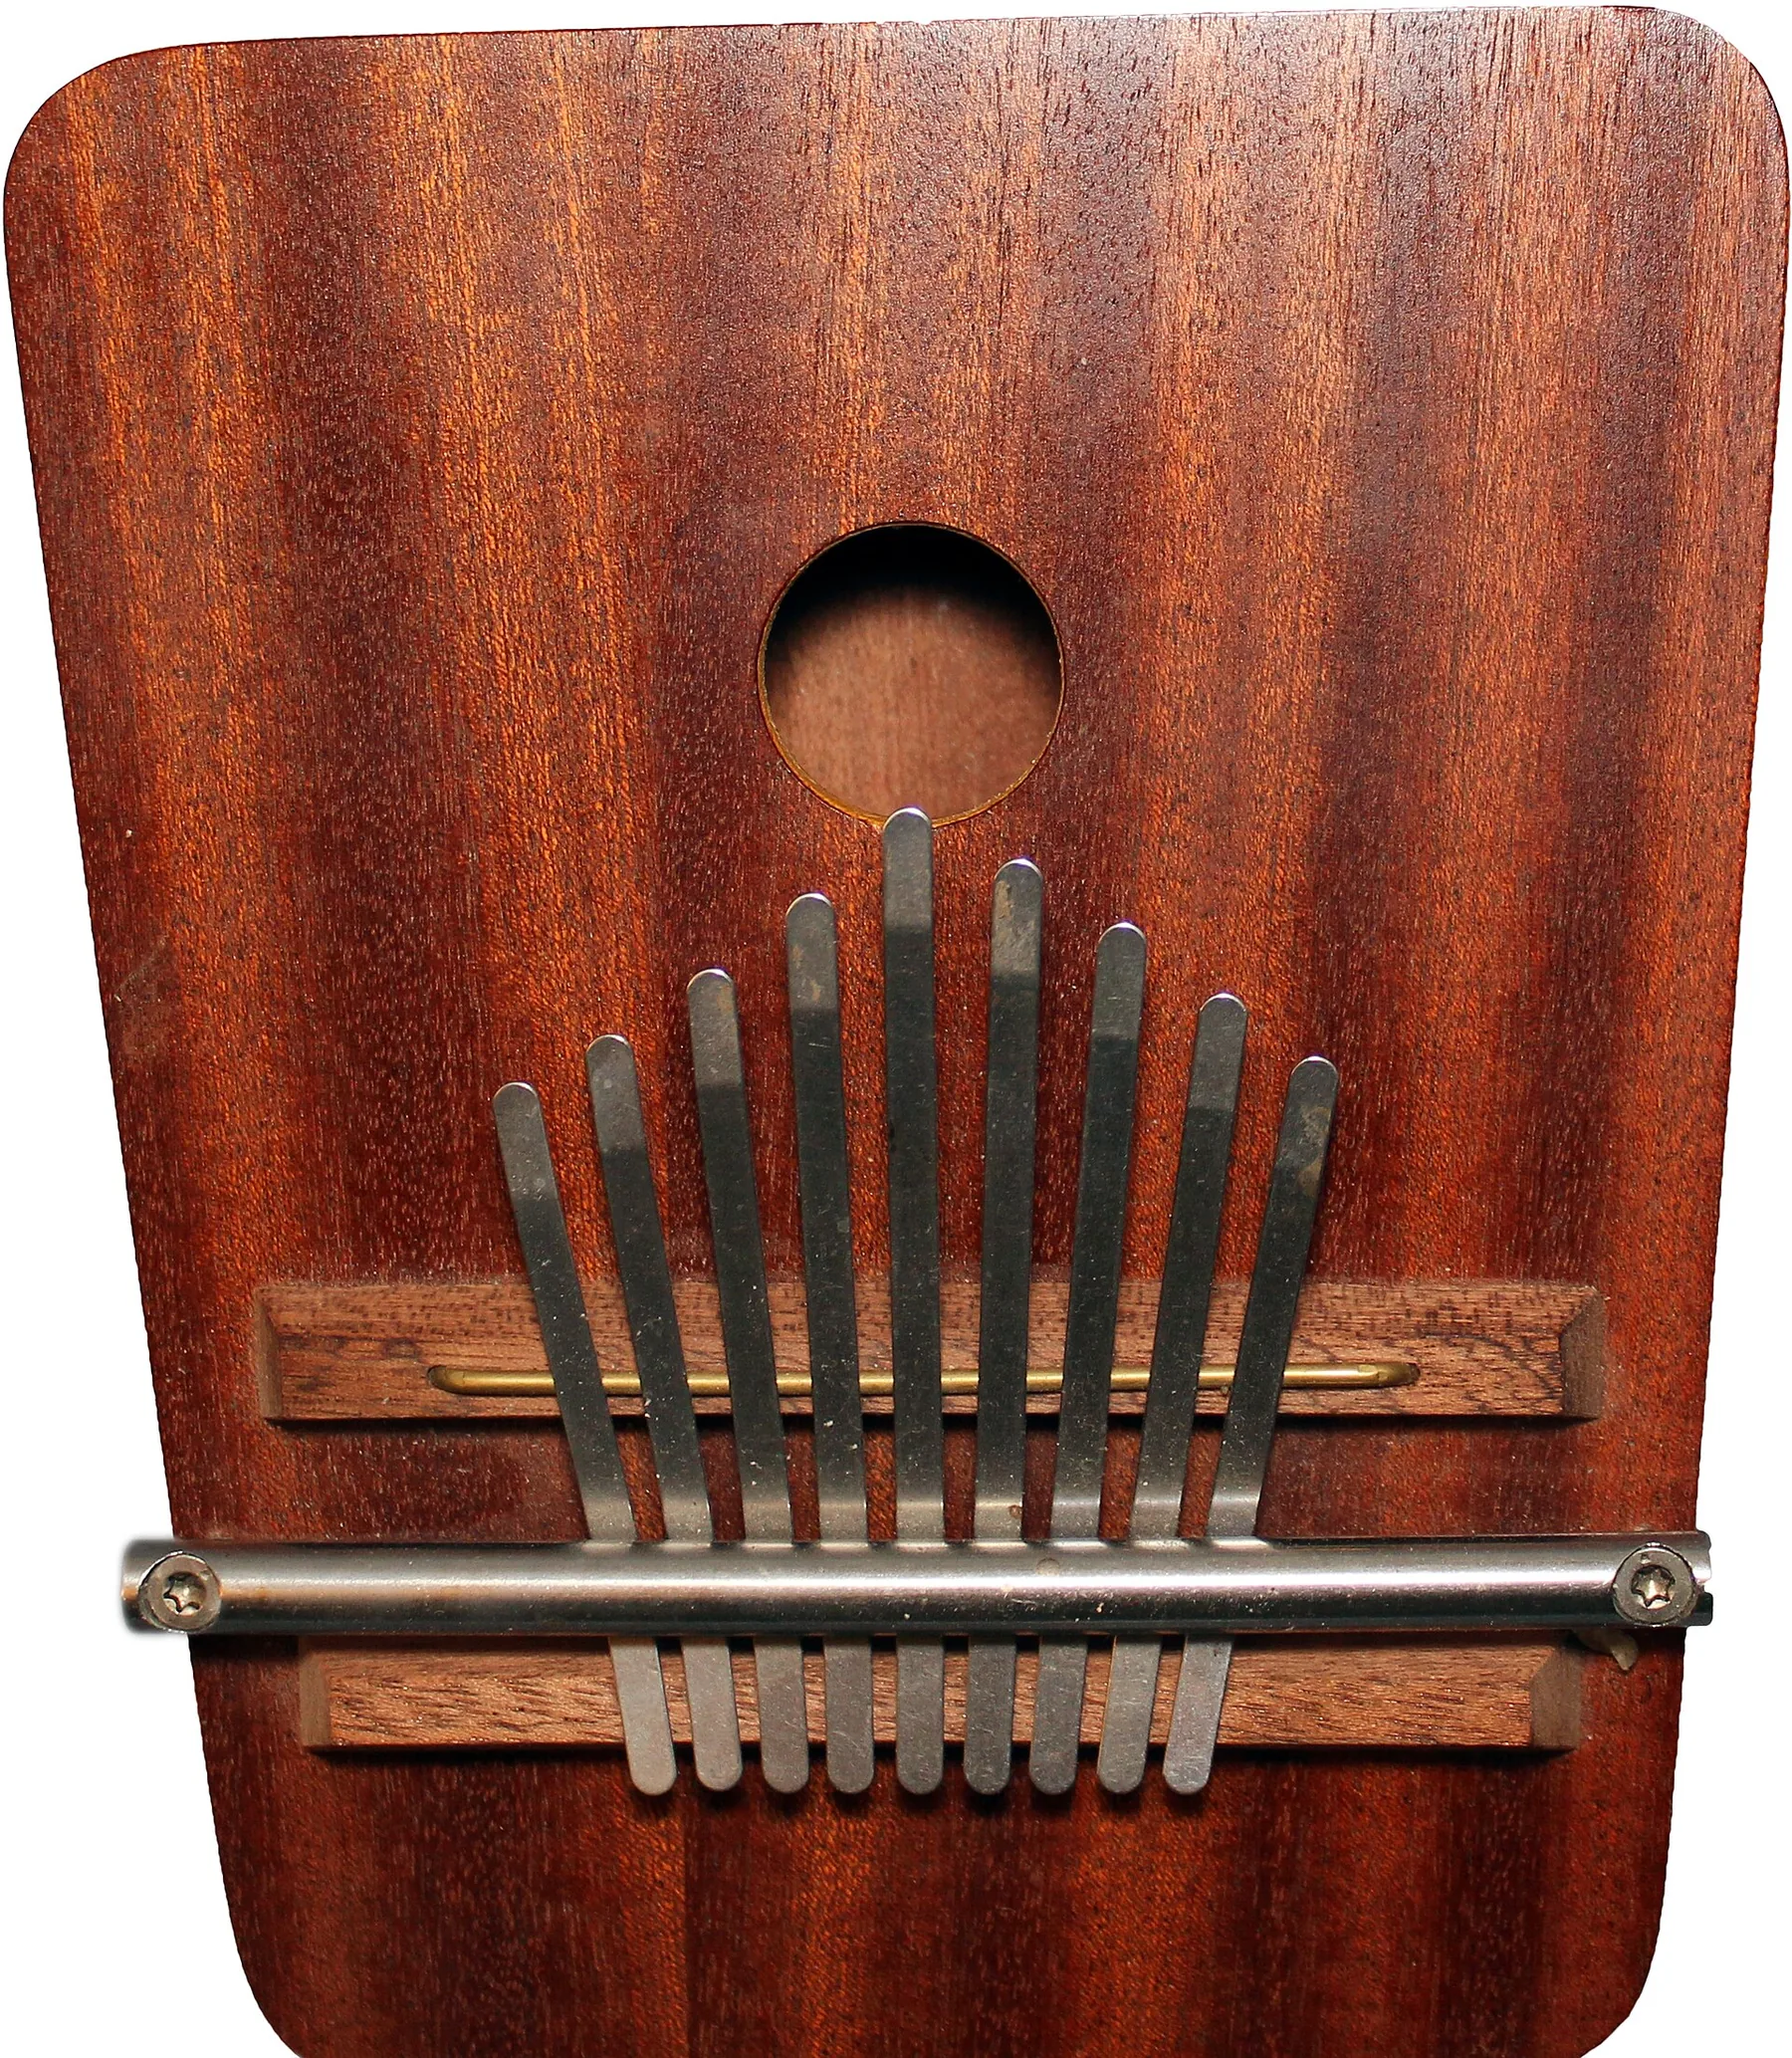
Playing outward from the center
Memorize the center note so you can find your position quickly. Then practice alternating: center → left → center → right, gradually moving outward.
Simple exercise: play C-D-E-F while alternating your left and right thumbs, then play the notes in reverse. Repeat short rhythmic patterns to steady your tempo.
Building chords
To play a simple chord, pluck two adjacent tines with the same thumb, or use both thumbs if the tines are farther apart.
Practice legato by letting the notes ring and staccato with short, detached attacks to vary your expression. Change how firmly you pluck to alter the dynamics.
| Goal | Exercise | Frequency |
|---|---|---|
| Finding notes | Locate the center tine and play the notes from C to G | 5 to 10 minutes a day |
| Alternating thumbs | Repeat center → left → right | 10 minutes a day |
| Chords | Play two adjacent tines at once and practice simple progressions | 5 to 10 minutes a day |
End each session with a short musical phrase combining single notes and a small chord. For more exercises and lessons, browse the tutorials.
Reading and playing tabs and sheet music
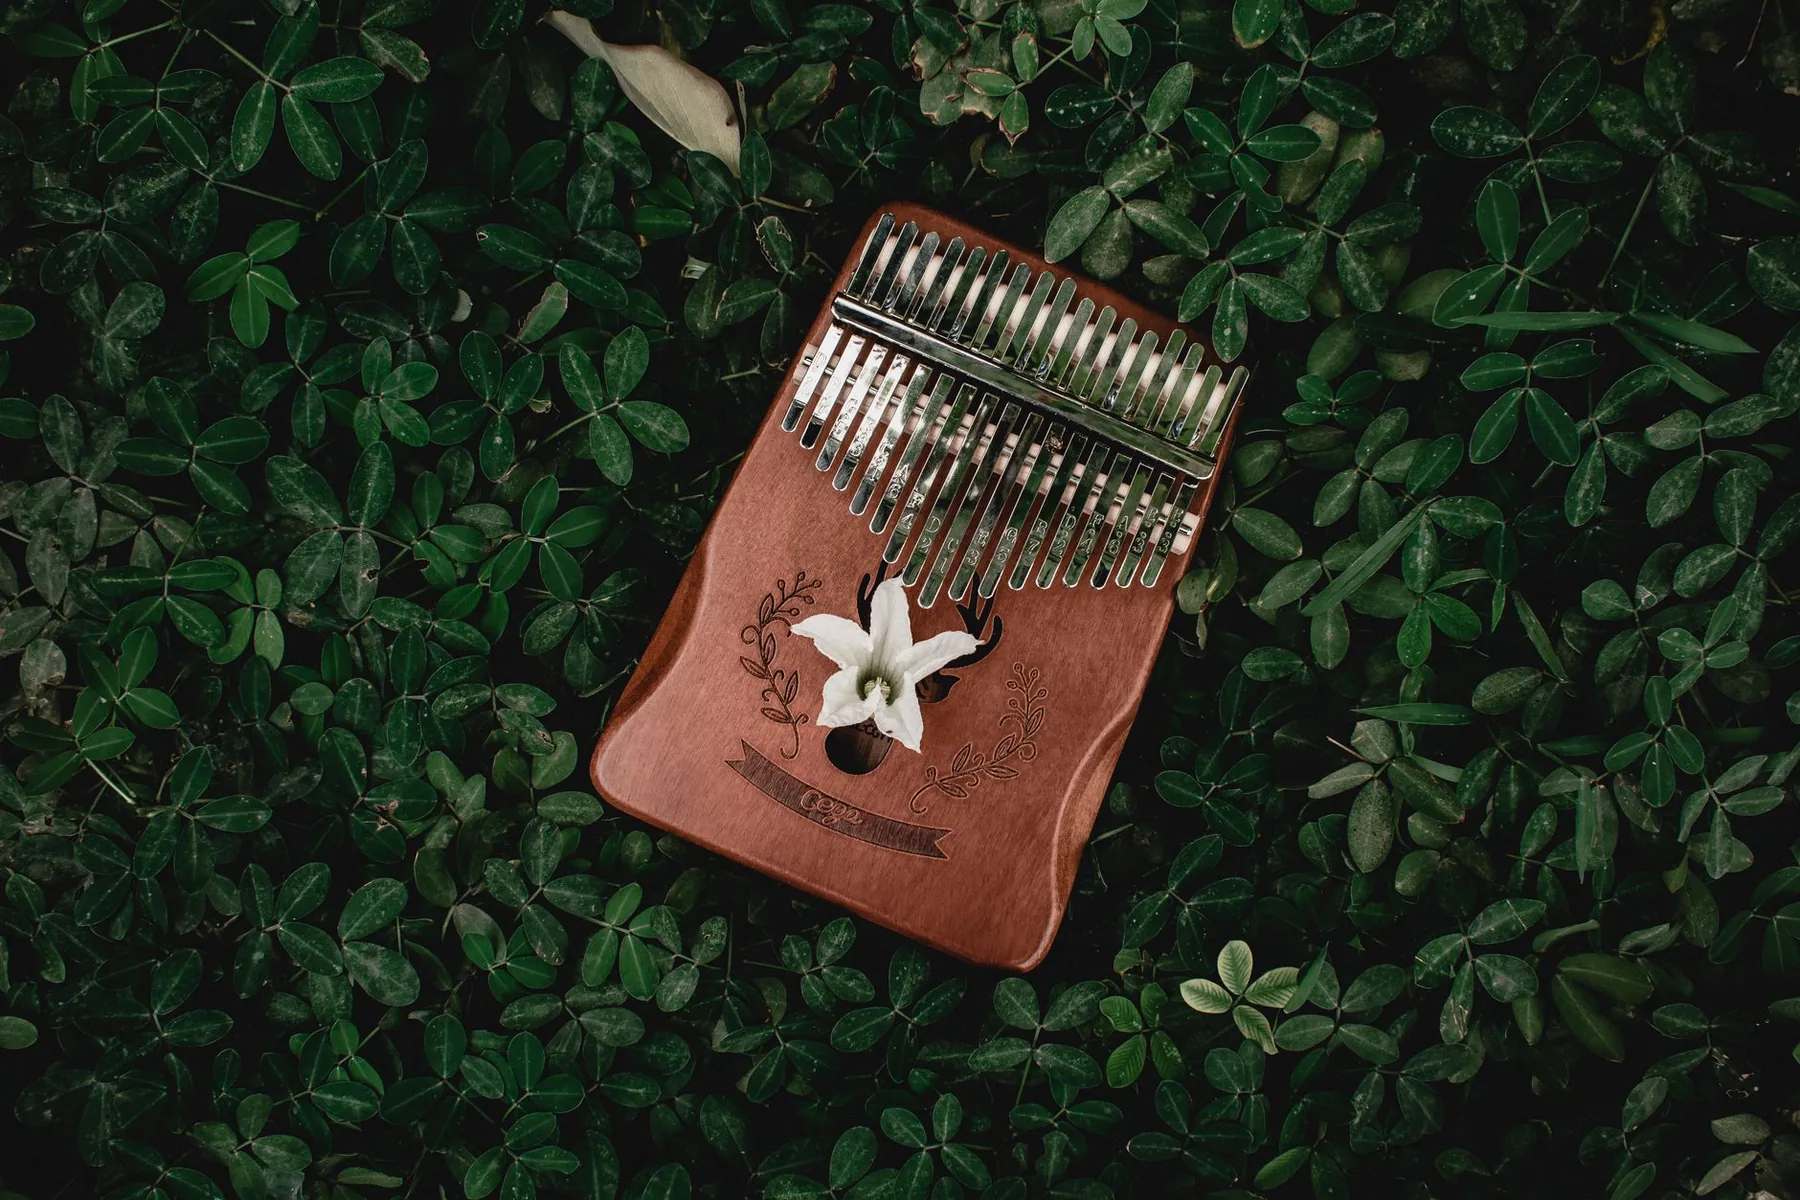
Kalimba tablature shows you clearly which tines to play with your thumbs. Tabs are generally read from bottom to top. Dots or symbols mark the tines to play. Before opening a tab, listen to the song to get a feel for its tempo.
Finding suitable tabs
Include your instrument’s number of tines in the search, such as “17-tine kalimba tabs.” This helps you avoid arrangements that do not fit your instrument.
Understanding how to read them
Read vertically: the bottom represents lower notes and the top represents higher notes. Find the dots on the tines and follow their sequence.
Numbered notation and a practice method
Numbered notation tells you which tine to play. It lets you play without advanced knowledge of music theory.
Tip: divide the piece into 3 to 5 sections and practice each one several times before joining them together.
- Read one section.
- Play it slowly and repeat it three times.
- Move on to the next section, then join the sections together.
| Stage | Action | Purpose |
|---|---|---|
| Search | Specify the number of tines | Find a compatible arrangement |
| Listening | Listen to the song first | Find its rhythm |
| Practice | Repeat each section three times | Memorize it reliably |
Final tip: write down the fingering if a passage gives you trouble. Stable tuning makes notes easier to recognize, so check it often. Build a small repertoire of short, familiar songs to keep improving and stay motivated.
Techniques and effects to enrich your playing
Precise movements around the sound box create new sounds. These techniques are easy to add and give arpeggios, chords, and repeated patterns more expression.
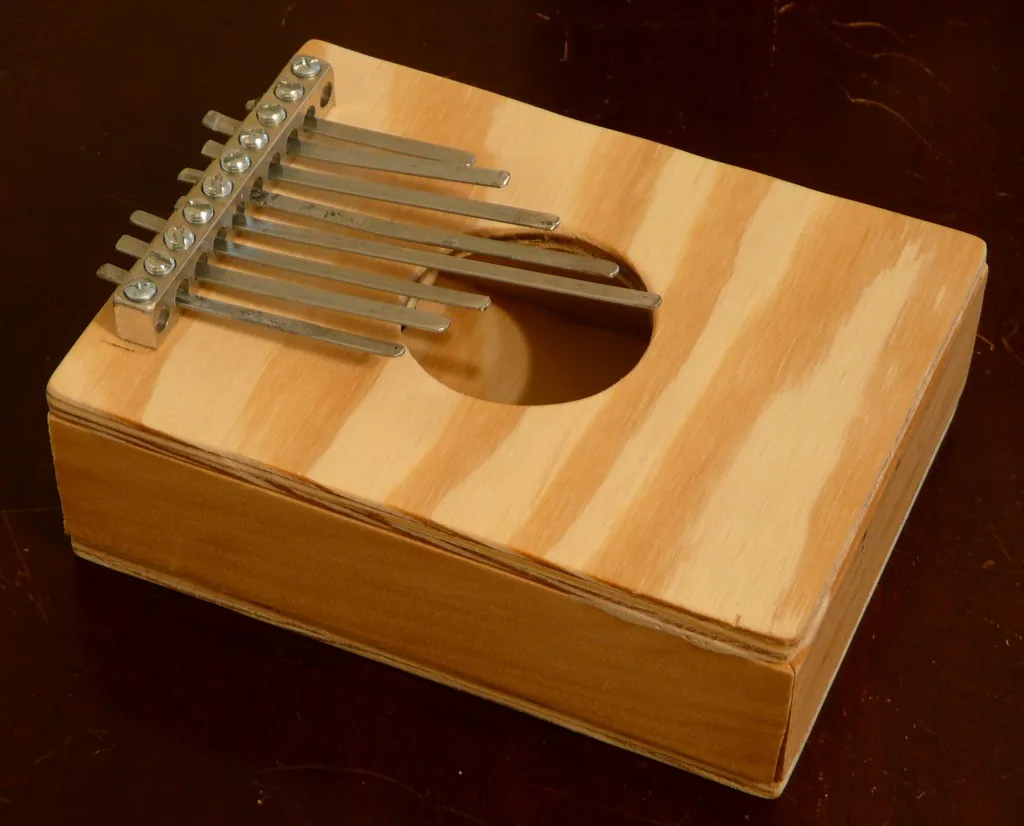
Glissando — sliding your thumb across several tines
Glissando: slide your thumb across adjacent tines to create a harp-like sweep. Begin with outward, ascending glissandos, which are easier to control.
Three adjacent tines often form a useful triad that quickly adds color to a chord.
Wah-wah effect — changing the front opening
Wah-wah: play a note, then cover and uncover the front opening of the sound box to change the sound.
The effect is more noticeable near the center of the tines and on a wooden sound box. Use it on long notes for a stronger musical effect.
Vibrato — changing the tone with the rear holes
Vibrato: alternately cover the two rear holes with your ring fingers while a note rings. This changes the tone without changing its pitch.
Recommended exercise: hold a note, then apply wah-wah and vibrato. Add these techniques at the end of a phrase or on sustained notes for an elegant sound.
| Technique | Action | Practical tip |
|---|---|---|
| Glissando | Slide your thumb across 3 to 5 tines | Start outward and control your speed |
| Wah-wah | Cover and uncover the front opening | The effect is stronger near the center; use it on long notes |
| Vibrato | Alternately cover the rear holes | Do this while the note rings; avoid keeping the holes blocked |
Conclusion
To finish, remember a few practical techniques and choices. A 17-tine kalimba in C major provides a solid foundation when tuned with an app or physical tuner and adjusted with a hammer.
Tuning your kalimba regularly helps you hear each note clearly and keep a steady tempo. Practice exercises from the center, alternate your thumbs, and learn songs suited to your instrument’s number of tines.
Short, regular sessions protect your fingers and support lasting progress. Then explore effects such as glissando, wah-wah, and vibrato. If needed, try another tuning or consider a chromatic model.
To learn more, read this practical guide: everything you need to know about the kalimba.