
This short, practical guide lets you start making music right away. You do not need to read music. Hold the instrument with your thumbs in front and your other fingers behind it. Breathe, relax, and listen to the sound box resonate.
In just a few minutes, you will sound the center tine, then play a simple melody using numbers, such as Frère Jacques. Take your time and listen to the resonance to produce a clear sound.
This tutorial is for beginners. It uses a 17-tine kalimba, but is also useful for 8-, 10-, and 21-tine models. We will cover how to hold the instrument, play your first note, follow a numbered melody, fix common problems, and tune with a free app.
Common mistakes include gripping too tightly, which muffles the sound, playing an out-of-tune instrument, and going too fast. Do not worry: this article offers a simple solution to each problem. Keep your phone nearby in case you need to tune, and enjoy a relaxing moment of music.
Start gently: a 10-minute plan to begin playing
A brief moment of calm makes it easier to explore the instrument. Take a few seconds to sit comfortably and breathe. This guide offers a simple plan to build confidence without pressure.
Quick plan: spend 2 minutes settling in and breathing, 3 minutes learning how to hold the instrument, 3 minutes producing a clear sound, and 2 minutes playing a very short melody. Follow each step without rushing.
A quick warm-up helps: roll your shoulders, open and close your hands, and breathe slowly. Focus on how your thumbs feel. One well-played tine is enough to get started.
“Small mistakes are normal. Listen to the resonance and make slight adjustments to your movement.”
Practice briefly but often: gradual progress is better than exhausting your concentration. Set your phone beside you and record yourself for 20 seconds at the end of the session. The recording will show your progress and make learning feel more relaxed.
How to hold your kalimba: posture, grip, and relaxed thumbs
A good grip turns a simple movement into a clear, lasting sound. Sit upright without stiffening, with your shoulders down and elbows close to your body. Hold the wooden instrument at a comfortable height so its sound box can resonate.
Body posture and hand placement
Place your thumbs in front and your other fingers behind for support, much as you would hold a cup.
Keep your palms open and avoid squeezing: a tense grip muffles the resonance.
Grip and sound holes
Do not cover either of the two rear holes or the front opening. These openings let air move and the sound box vibrate.
Check that your hands do not slip as you play slow patterns.
Thumb movement and contact
Move from the first thumb joint: press gently inward, then release the tine cleanly. Try plucking with the tip of your thumb to find a precise, comfortable movement.
Tip: wipe the wood after each session to preserve its finish and sound.
| Aspect | Action | Expected result | Test duration |
|---|---|---|---|
| Posture | Back straight, shoulders down | Steady breathing | 30 sec |
| Grip | Thumbs in front, fingers behind | Stability without muffling the sound | 30 sec |
| Movement | Move from the first thumb joint and release | Better tine resonance | 30 sec |
Quick exercise: alternate your left and right thumbs for 30 seconds, keeping your torso still and breathing freely.
One tine, one sound: play your first clear note
Choose the middle tine — often C in standard tuning — to get started and feel a steady vibration that is easy to control.
Technique: gently push the tine inward with the tip of your thumb, then release it cleanly. This brief movement lets the tine and sound box vibrate freely, producing a clear note.
Nail or thumb pad: the nail produces a brighter, more defined sound. The pad produces a softer tone. Try both and choose what feels right.
If your nail is short or your skin is sensitive, use a thumb guard to keep the sound consistent. As you release the tine, also ease your grip on the instrument so you do not muffle its resonance.

Quick exercise
- Play the same note 10 times at a slow tempo, repeating the same movement each time.
- Alternate your left and right thumbs on two symmetrical tines.
- Listen as the sound fades: if it stops too soon, loosen your grip or uncover the sound holes.
Vary the plucking angle slightly: just a few degrees can make the note clearer.
Easy kalimba tutorial: play your first notes in 10 minutes
A familiar tune helps your thumbs work together without too much thought. Start with the numbered melody of Frère Jacques: 1°-2°-3°-1° | 1°-2°-3°-1° | 3°-4°-5° | 3°-4°-5° | 5°-6°-5°-4°-3°-1° | 5°-6°-5°-4°-3°-1° | 1°-5-1° | 1°-5-1°.
How the scale degrees work: 1° is the center tine. Move outward symmetrically to 2°, 3°, and so on, keeping the tines clearly visible beneath your thumbs.
Tempo and resonance
Play slowly — around 60 to 70 BPM — so you can place each note and let it resonate. Break the melody into measures and repeat each short phrase two or three times before moving on.
- Short repetitions build muscle memory.
- Listen to the intervals: 3°-4°-5° should rise naturally.
- If a note sounds muffled, loosen your grip and check the sound holes.
- A light touch is enough: the tine produces sound when it vibrates freely.
Tip: record one complete performance to track your progress. Then try another short, familiar tune to strengthen your technique and sense of rhythm.
| Action | Goal | Duration |
|---|---|---|
| Play Frère Jacques using numbers | Learn how to move between tines | 5 to 10 min |
| Repeat each short phrase | Develop a steady touch | 2 to 3 repetitions |
| Record yourself | Measure your progress | 1 take |
For a practical guide to playing and tuning, follow this link.
Fix small mistakes: common problems and quick solutions
A muffled sound or an out-of-tune tine need not interrupt your progress. A few simple adjustments will help you recover a clear, even tone.
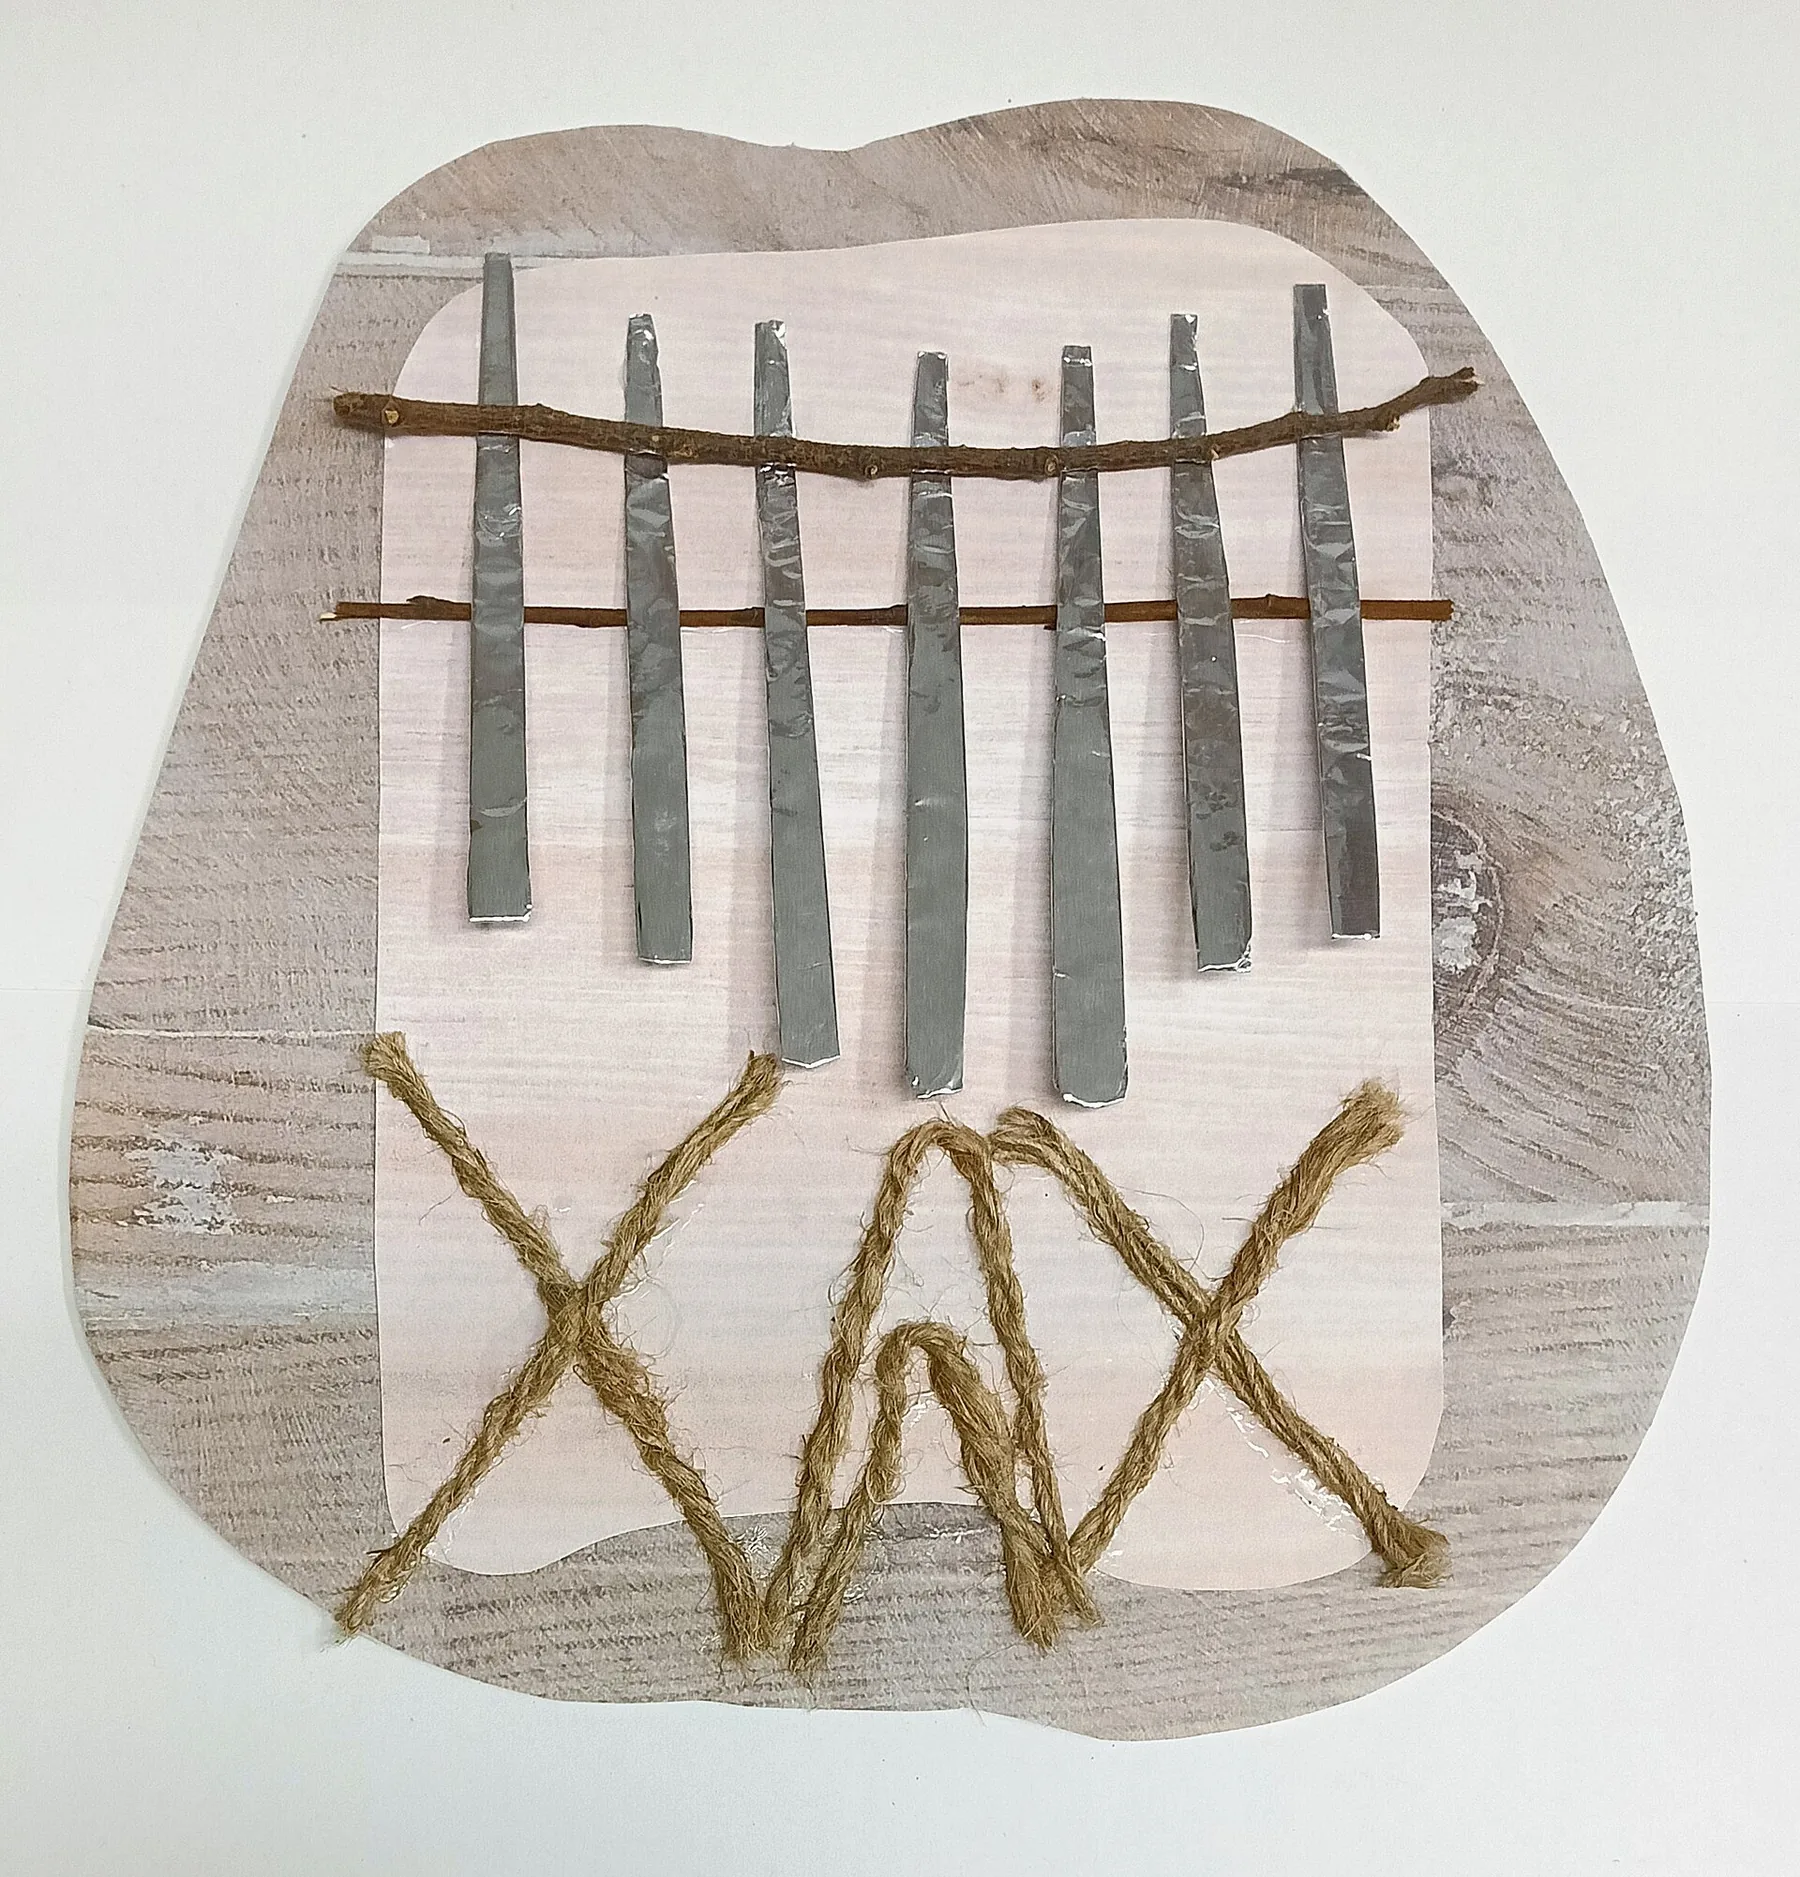
Muffled sound: loosen your grip and adjust your movement
Quick tips: loosen your grip, check that your fingers are not covering the rear sound holes, and release the tine cleanly after plucking it.
Notes sound wrong: when to retune
If a note often sounds out of tune, its tine may have shifted. Take a minute to tune your kalimba with an app or a small tuning hammer before continuing.
Playing too fast: focus on accuracy
Use a slow tempo and repeat the same short phrase several times. Consistency matters more than speed. Take a 10-second break if your hand tenses up.
Check your grip, clear sound holes, thumb angle, tuning, and tempo.
These tips will help you play the kalimba more confidently and keep its tines sounding right. For step-by-step tuning instructions, see this practical guide.
Tune your kalimba easily with an app
A small adjustment is often all it takes to bring the notes back into tune. An app makes the process quick and approachable, even if you are new to the instrument.
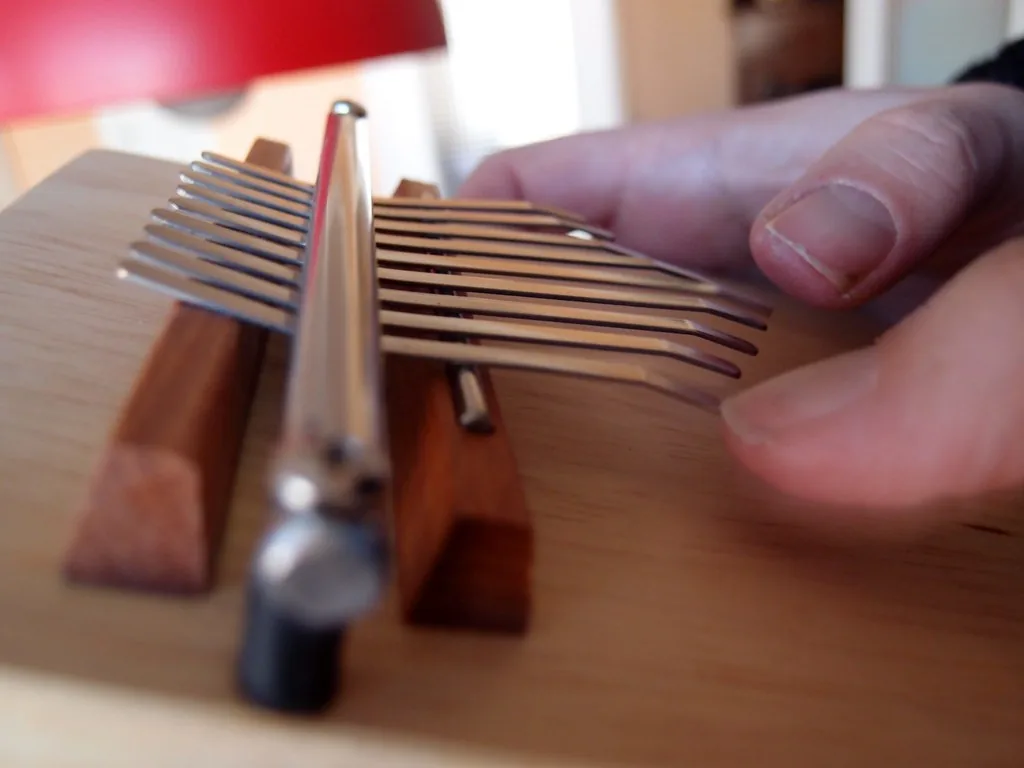
Choose a mobile tuner and position the microphone
You can use Pano Tuner, Tuner Lite, or Cleartune on iOS or Android. These apps use the microphone to detect pitch in real time.
Place your phone 10 to 20 cm from the sound box in a quiet spot for a stable reading.
Tune each tine step by step in C major
A simple step: play one tine, read the note displayed, make a very small adjustment, then wait for the reading to settle.
- If the note is too low, push the tine upward from underneath.
- If it is too high, push the tine downward from above.
Change key and check the tuning
Start by tuning the instrument to C major while you learn. For a pentatonic scale or a minor mode, maintain the correct intervals between tines so the tuning stays consistent.
Recommended routine: spend 2 to 3 minutes checking the tuning before each session to keep the notes stable.
Need a step-by-step guide? Read a detailed tutorial to explore the method further.
Playing basics: short exercises that build skill
A short, focused session turns each minute of playing into measurable progress. Follow a simple, regular routine to improve thumb coordination and remember where the tines are.
Single notes and alternating left and right thumbs
Recommended routine: 2 minutes alternating thumbs, 2 minutes playing scales, and 1 minute playing arpeggios.
Alternating exercise: start at the center tine. Play a tine on the left with your left thumb, then one on the right with your right thumb, and repeat as you gradually move upward.
Scales, arpeggios, and playing with a metronome
Play ascending and then descending scales to memorize where the notes fall beneath your thumbs. Arpeggios develop precision and control over resonance.
Tip: use a metronome at a slow tempo to build a steady rhythm. Focus on consistency rather than speed.
Improvise in C major or A minor to explore your creativity
Choose 3 or 4 central tines and improvise simple patterns. Vary the volume and length of each note to become more expressive.
Watch your hand position and keep your fingers flexible to avoid tension. Record 30 seconds of improvisation each session to track your progress.

For more guidance, read this guide to learning the kalimba and add these short exercises to your daily sessions. Practicing regularly for 5 to 10 minutes is better than having long, irregular sessions.
Go further in a few minutes: chords and expressive effects
A few quick techniques can expand your range of sounds without much difficulty.
Wah-wah: after playing a note, move your thumb back and forth in front of the front sound hole to change how the sound box resonates. Keep the movement short and rhythmic. It colors the end of a phrase without covering the melody.
Vibrato: if your model has two rear holes, gently press them with your ring fingers to create a slight change in tone. Some instruments do not have these holes; in that case, try gently rocking your thumb to produce a subtle vibrato.
Glissando and your first chords
Glissando: place the tip of your thumb on a tine, press, and slide quickly across neighboring tines to create a cascade of notes. Keep the movement short so the sound stays clear.
Simple chords: play two neighboring tines with one thumb, or play two distant tines at the same time with both thumbs. This small chord punctuates a phrase and immediately adds depth.
“A quiet chord followed by a gentle wah-wah adds a polished touch.”
Try this: play a long note, add a wah-wah, then follow it with a subtle glissando before a short final chord. Listen to how the sound changes as you move your hand on the sound box.
Tip: use these effects sparingly. They should support the music without overwhelming it. Build a personal collection of effects you can use in different melodies.
Which kalimba should a beginner choose: 8, 10, or 17 tines?
Before buying, decide what you want it for: recreation, relaxation, or learning a wide range of songs.
Models for children, relaxation, or versatile learning
17 tines: a versatile choice for developing your skills. This model has enough tines for a range of melodies and gives you room to progress comfortably.
8 or 10 tines: these models are ideal for playful or meditative use and for children. With fewer tines, they are simpler and can be especially relaxing to play.
Wood, note markers, and electroacoustic options
The choice of wood affects tone and projection. Choose a well-finished, stable instrument for a consistent sound.
Engraved tines or stickers make notes easier to find when you begin. Electroacoustic models let you amplify or record the sound easily.
| Model | Advantage | Check on arrival | Use |
|---|---|---|---|
| 17 tines | Wide repertoire | Tuning and wood finish | Learning |
| 8 to 10 tines | Simple and light | Tine stability and note markers | Relaxation, children |
| Electroacoustic | Amplification | Output jack and controls | Stage, recording |
Tip: check the tuning as soon as the instrument arrives. A tine may shift during shipping. Consider thumb guards if your skin is sensitive.
For a detailed comparison of 8-, 10-, and 17-tine models, woods, and finishes, read this comparison article. The best instrument is the one that makes you want to play every day.
Playing comfort and instrument care
A few simple habits will preserve the instrument’s sound and protect your thumbs. You can certainly play without nails: use the pad of your thumb or a soft guard to protect your skin and produce a consistent sound.
Playing without nails and managing sensitivity
An adjustment period is normal. Discomfort tends to ease with time and regular practice.
Tip: protect your thumbs when needed to prevent blisters and keep your touch consistent. Relax your wrists and shoulders to reduce strain on your fingers.
Clean the tines and wood, lubricate, and protect
Dust the instrument with a soft brush. Wipe the tines, then apply a very small amount of a product such as F-One Oil if needed.
Wipe the wood after each session and occasionally treat it with a light linseed oil. Avoid prolonged exposure to moisture and store the instrument in a case.
Check the tuning for a stable sound
Tuning your kalimba regularly helps it sound its best. Set a monthly reminder to check the tuning and the condition of the tines and wood.
| Action | Duration | Frequency |
|---|---|---|
| Quick cleaning with a brush and cloth | 3 to 5 min | After each session |
| Apply oil to the tines and wood | 2 to 3 min | Once a month |
| Check the tuning | 2 to 3 min | Before each session or weekly |
Five minutes of monthly care saves time and helps your musical instrument last longer.
Conclusion
Keep these simple points in mind to make playing easy and enjoyable from the start.
Summary: hold the instrument comfortably, play a clear first note, read numbered melodies, correct small mistakes, tune with an app, practice short exercises, try a few effects, choose a suitable model, and care for it.
Make 5 to 10 minutes of practice part of each day. Record a performance each week to hear how your sound and timing develop.
Expand your repertoire with 2 or 3 short, familiar tunes, and use effects sparingly to add a polished touch to your playing.
Ready to begin? Tune the instrument, pick it up, and play for 60 seconds. To go further, read this practical guide: learn to play the kalimba.